How to Organize a Kitchen on a Budget (No Remodel, No New Cabinets)
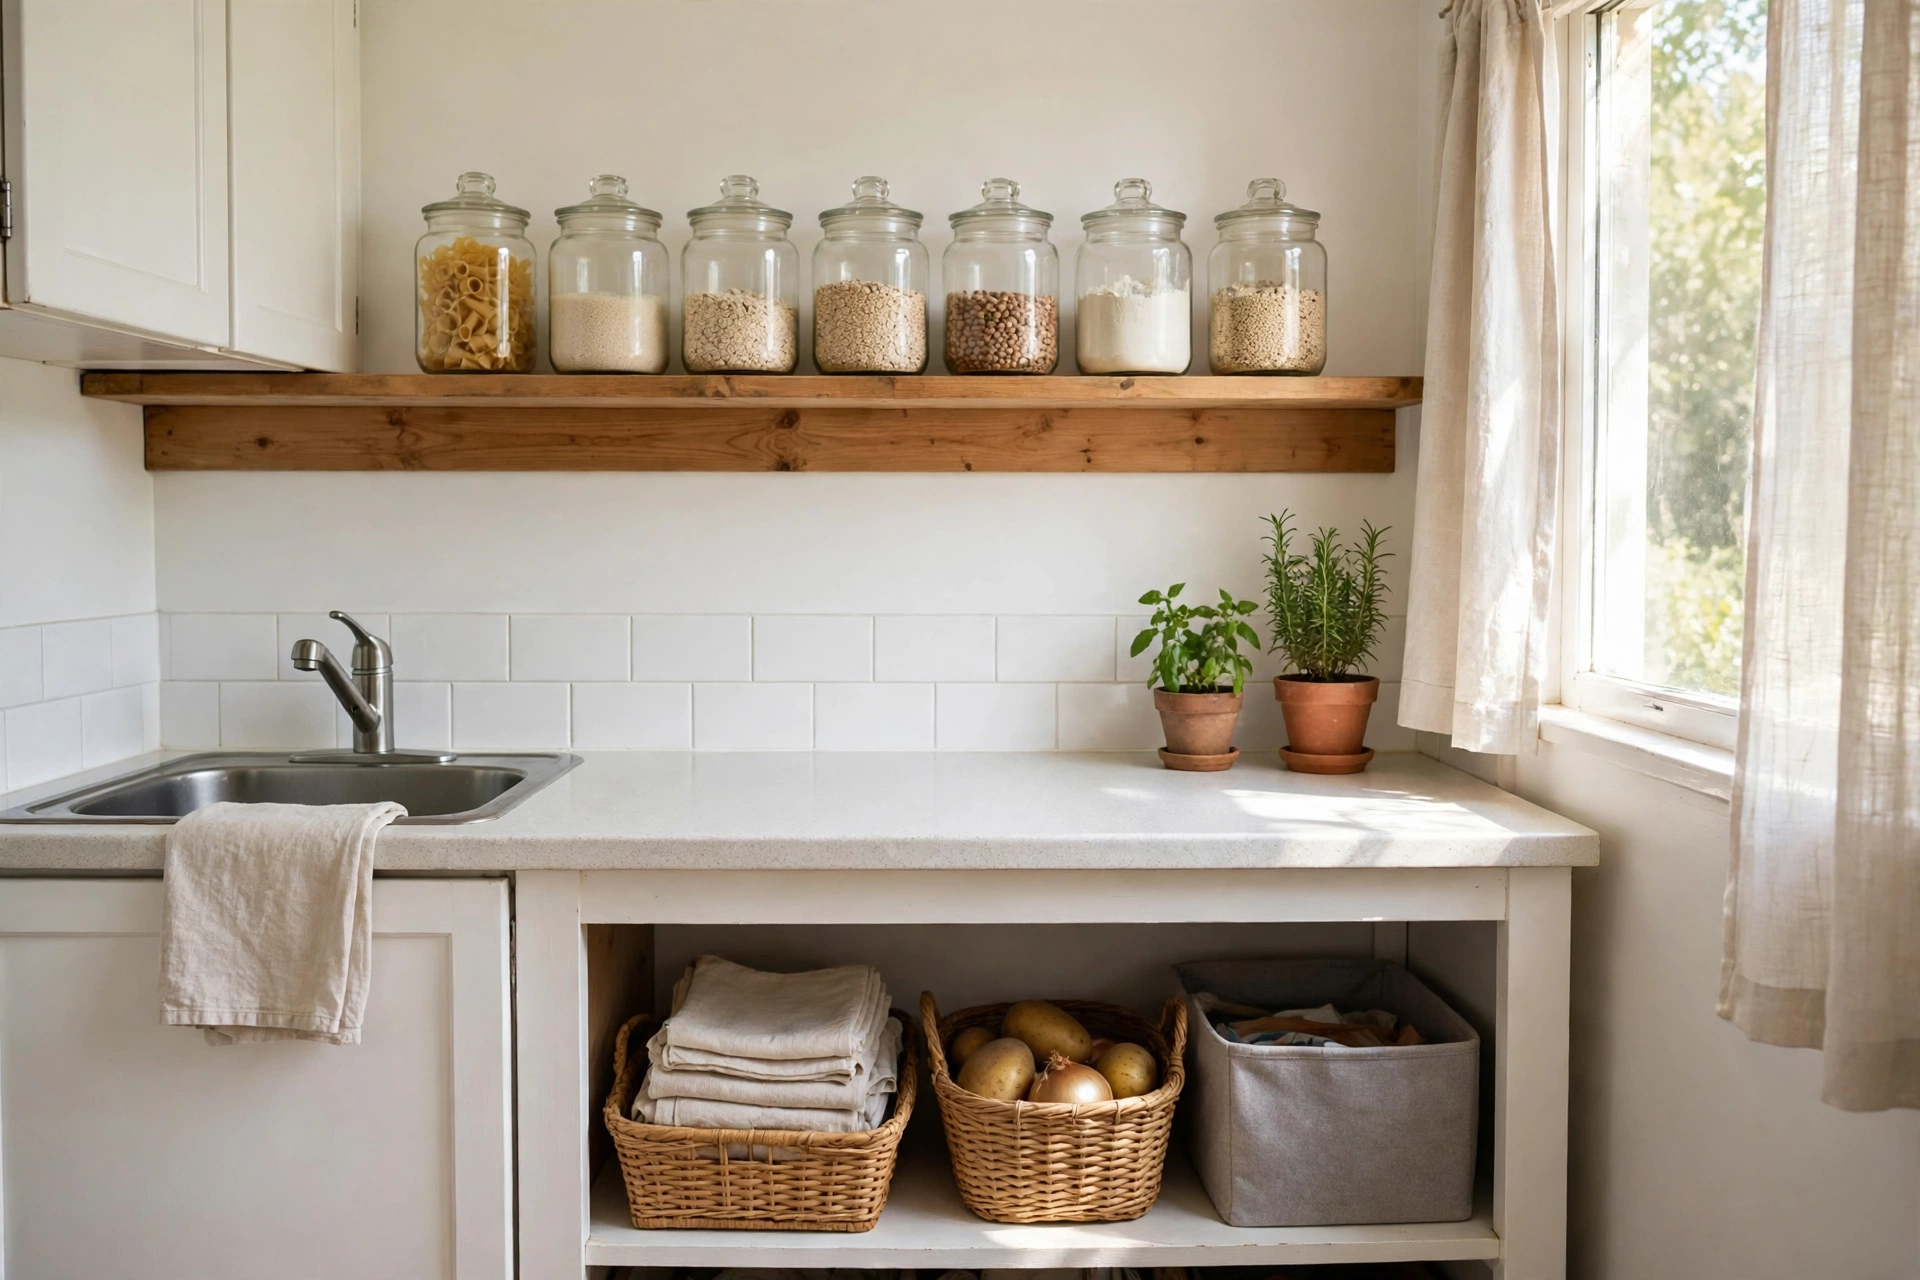
A tidy kitchen does not need a remodel, new cabinets, or a trolley full of matching bins. Most of the work is free: taking things out, giving what is left a task-based home, and only then — if one daily friction remains — buying the single item that fixes it. Spend in that order, and a small budget goes a long way. Spend in the reverse order, buying bins before decluttering, and the kitchen just gets tidier-looking clutter.
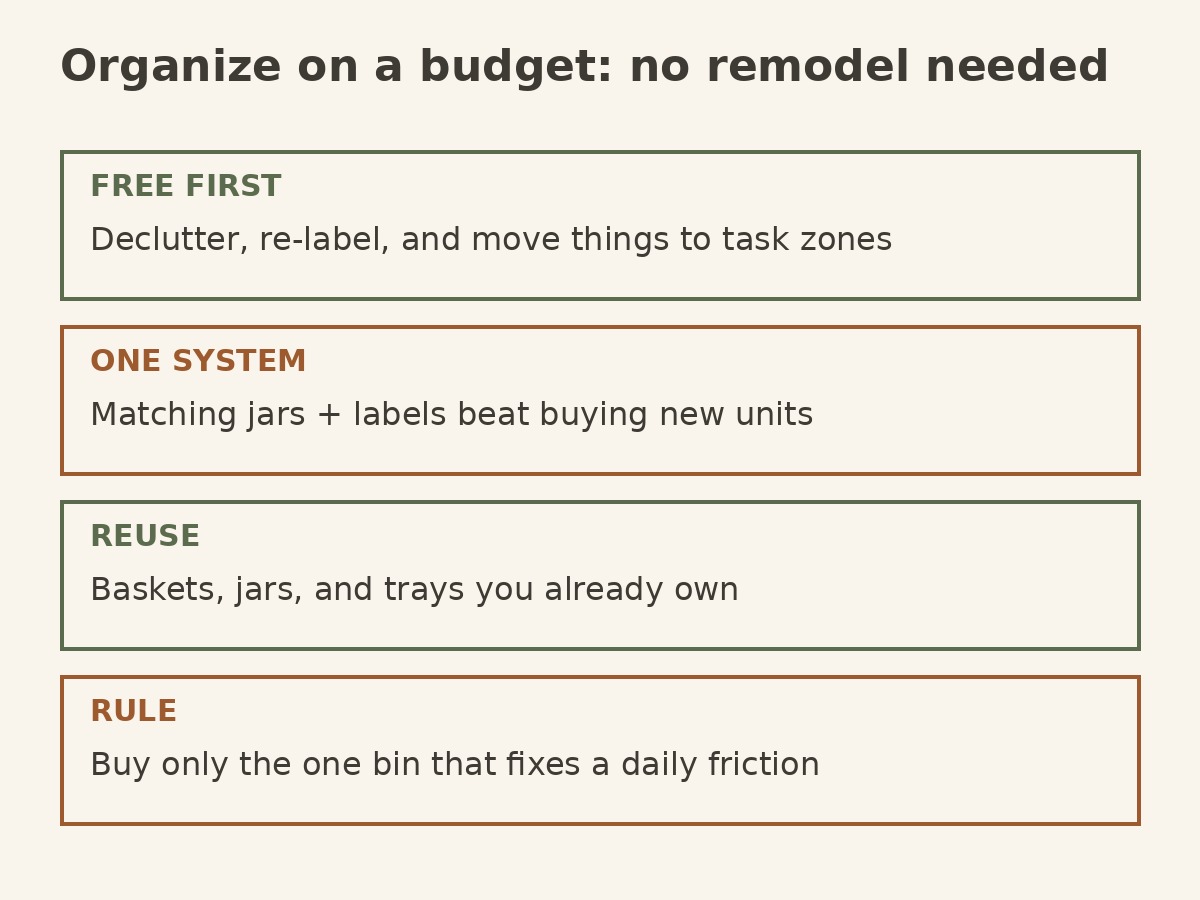
Start with the rule that governs the whole project: organize what you own before you buy anything to organize it in. A drawer full of gadgets does not need a divider yet; it needs five gadgets to leave. A pantry full of half-empty boxes does not need new jars yet; it needs the duplicates combined and the stale food thrown out. The budget version of kitchen organization is mostly subtraction, with a little labelling on top.
Step 1: Declutter first — and do it by task, not by drawer
Open one zone at a time — one drawer, one cabinet, one shelf — and sort it by what each item does, not by where it happens to sit. Keep the tools used weekly. Move the rarely used items to a higher, harder-to-reach zone. Let go of the broken, the duplicated, and the “just in case” item that has not been used in a year.
This is the same declutter-first order as How to Declutter a Kitchen Before You Organize It: shrink the stock, then give what is left a home — never the other way round. It costs nothing, and it is usually the step that frees a whole shelf. If a zone still feels crowded after this step, the problem is not storage; something in it still does not belong there.
Step 2: Give every zone one job
A kitchen that feels chaotic usually has zones doing two jobs at once: the baking shelf also holds cleaning sprays, the everyday drawer also holds party platters. Split them. Prep tools live at the prep counter, cooking tools at the stove, cleaning supplies under the sink, and food in the pantry or cabinet zone — one job per zone, no exceptions for “just this once.”
How to Organize a Kitchen by Zones (Prep, Cooking, Cleaning, Storage) sets out the four zones in full. The budget point is that zoning is free: moving the baking trays next to the oven and the cleaning sprays under the sink costs nothing, and it is the change most people feel first. When every item has one zone, putting things away stops being a decision.
Step 3: One jar system, not five
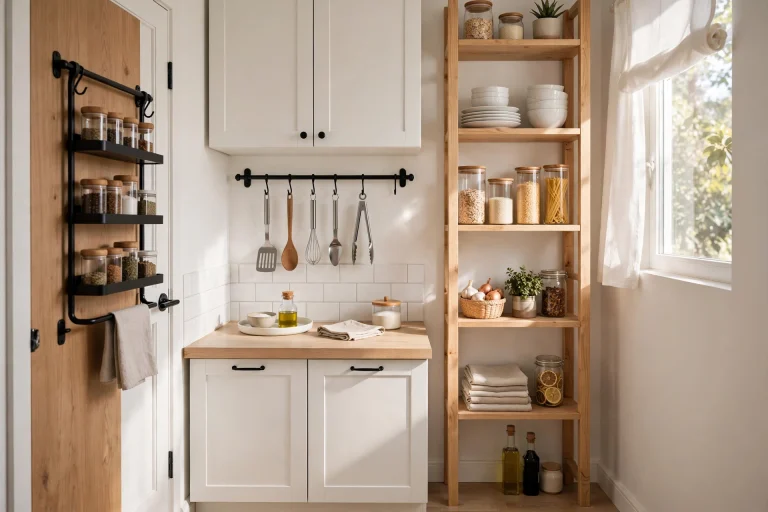
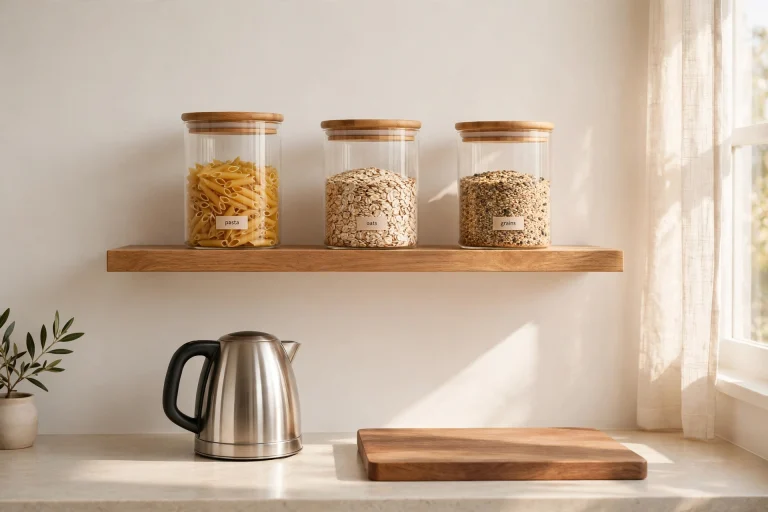
If you decant dry goods, do it once, in one system: the same jars, the same labels, for pasta, rice, oats, flour, and sugar. Matching jars are not about looks for their own sake — they stack neatly, pour cleanly, and show at a glance what is running low, which stops duplicate buying. That last point is where the jar system pays for itself: no more third bag of rice bought because the first two were hidden behind boxes.
Buy the jars in one small batch, only for the dry goods you actually use weekly, and label them with plain paper labels and a pen. Fancy printed labels are optional; legible labels are not. Keep the system to the foods that turn over fast — a jar for something used twice a year is decoration, not organization. How to Organize a Small Kitchen Without Adding Cabinets uses the same discipline: visible storage earns its place by being used daily.
Step 4: Reuse before you buy
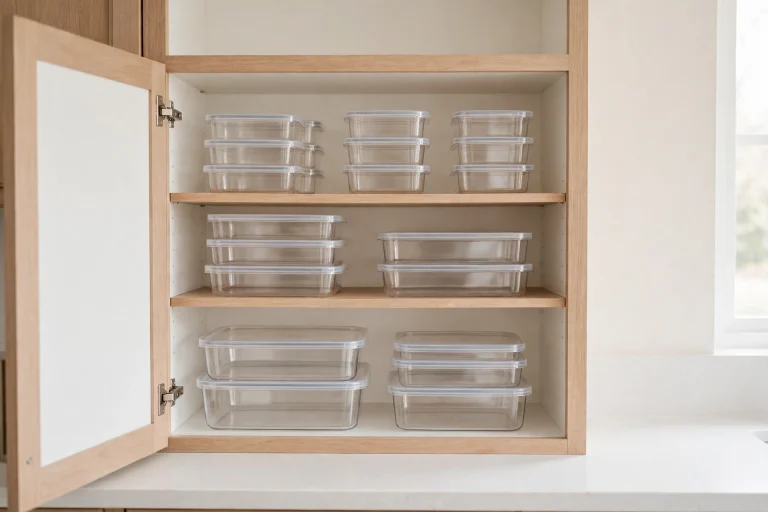
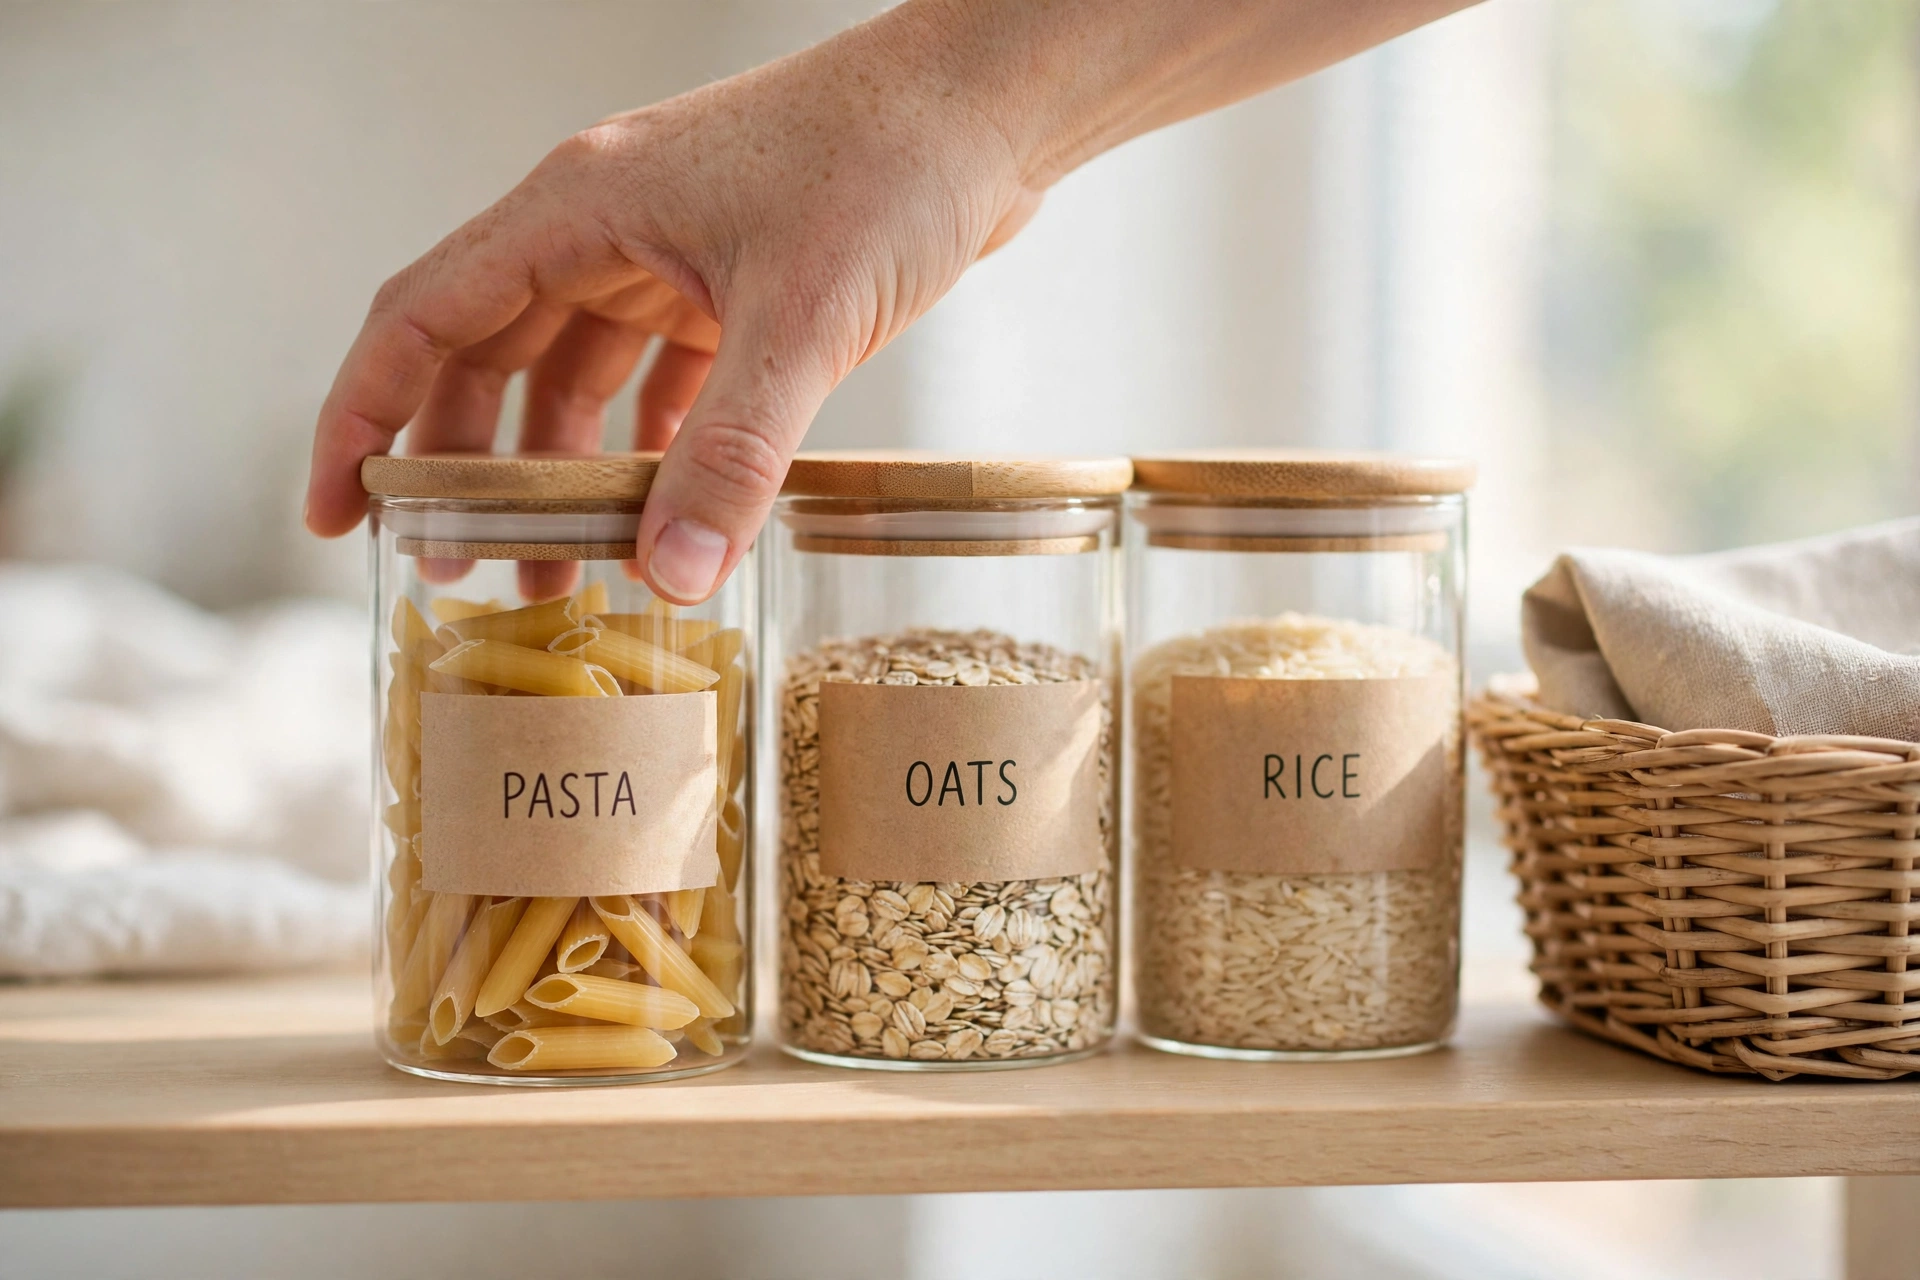
Before buying any bin, walk the house. A basket from another room, a tray from a drawer, a shoebox lined with paper, a jam jar for small packets — reused containers do the same job as bought ones for grouping, and grouping is the whole job. A basket that holds all the snack bags in one pull-out group beats a matching set that holds the same bags in three places.
This works best inside cabinets and drawers, where nobody sees the container. Save the matching look for the open shelf, where it is on show, and let the inside of cabinets be practical. A ten-minute reuse hunt through cupboards usually finds three or four containers that were already waiting to be useful. If a reused container does not fit its zone exactly, it is still better than a bought one that does not get used — fit matters less than having exactly one home per group.
Step 5: Buy only the one item that fixes a daily friction
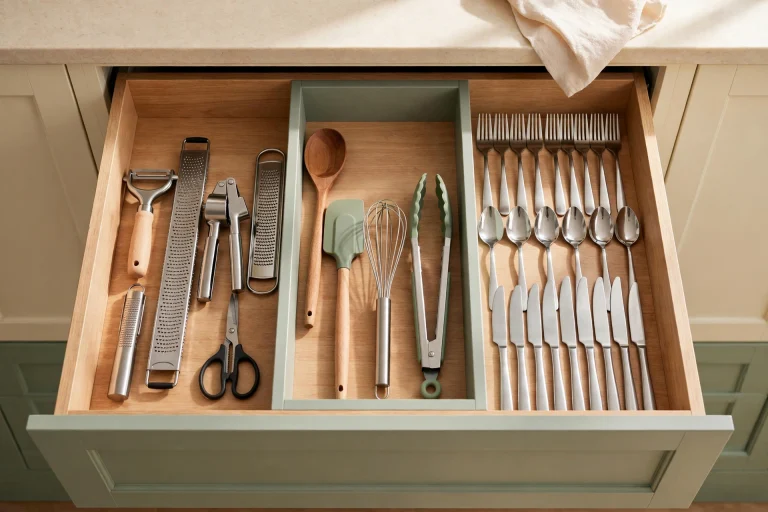
After decluttering, zoning, one jar system, and reuse, there is usually one friction left: lids sliding everywhere, spice jars falling over, or cleaning sprays toppling under the sink. That — and only that — is worth buying for. One divider, one rack, or one pull-out bin, chosen for the exact friction, in the exact size of the space.
The test is simple: name the friction in one sentence, and name the day it happens. “Lids slide every time I open this drawer” is a real friction. “This shelf could look nicer” is not. A purchase that passes that test gets used daily; one that fails it becomes the next thing to declutter. For the under-sink version of this rule, How to Organize Under the Kitchen Sink Around Pipes groups cleaning supplies by task before any bin is bought — the grouping comes first, the container second.
Step 6: Keep it tidy for free with a weekly reset
The cheapest maintenance is a short weekly check: put back what drifted, combine duplicates, and take one thing out that is no longer used. Fifteen minutes, once a week, keeps a budget system from sliding back into clutter — and it costs nothing. Without it, even the best jar system slowly fills with extras; with it, the kitchen mostly keeps itself.
How to Keep a Kitchen Organized: A Weekly 15-Minute Reset Routine is the habit that protects the budget work: a quick pass that each zone still holds only its own task, and that nothing bought on impulse has quietly moved onto the counter. If the reset keeps finding the same drifting item, its zone is wrong — move it closer to where it is used, rather than buying something to hold it in the wrong place.
Summary table
| Budget move | What it costs | What it fixes |
|---|---|---|
| Declutter by task | Free | A whole shelf of duplicates and dead stock |
| One job per zone | Free | Putting things away stops being a decision |
| One matching jar system | One small batch, weekly foods only | Duplicate buying and hidden dry goods |
| Reuse baskets, trays, jars | Free | Grouping inside cabinets and drawers |
| Buy one friction-fixer | One item, exact size | The one daily annoyance left after the free steps |
| Weekly 15-minute reset | Free | Drift back into clutter |
Frequently asked questions
Q: What is the cheapest way to start organizing a kitchen?
A: Declutter one zone at a time, by task, and give each zone one job. Both steps are free, and together they usually free more space than any purchase would.
Q: Should I buy matching containers for everything?
A: No — match only the dry goods used weekly, in one jar system with plain labels. Inside cabinets, reused baskets and trays do the same grouping job for free.
Q: How do I organize a kitchen with no money for new storage?
A: Use what the kitchen already has: walls, door insides, and the full height of shelves, plus containers from elsewhere in the house. Small Kitchen Storage Ideas: Using Walls, Doors and Vertical Space covers the vertical version of this.
Q: What is the one thing worth spending on?
A: The single item that fixes a daily friction you can name in one sentence — a lid divider, a spice rack, or a pull-out bin in the exact size of the space. Buy it after the free steps, not before.
Q: How do I stop a budget system sliding back into clutter?
A: A weekly 15-minute reset: put back what drifted, combine duplicates, and remove one unused item. If the same item keeps drifting, its zone is wrong — move it, do not buy a container for it.
Shop This Guide’s List
Prefer to shop it all in one place? Every product in this guide is collected in our Benable list: Organize Your Kitchen on a Budget: Jars, Baskets & One Smart Buy — tap any item to see it at the store.