How to Organize Food Storage Containers and Lids
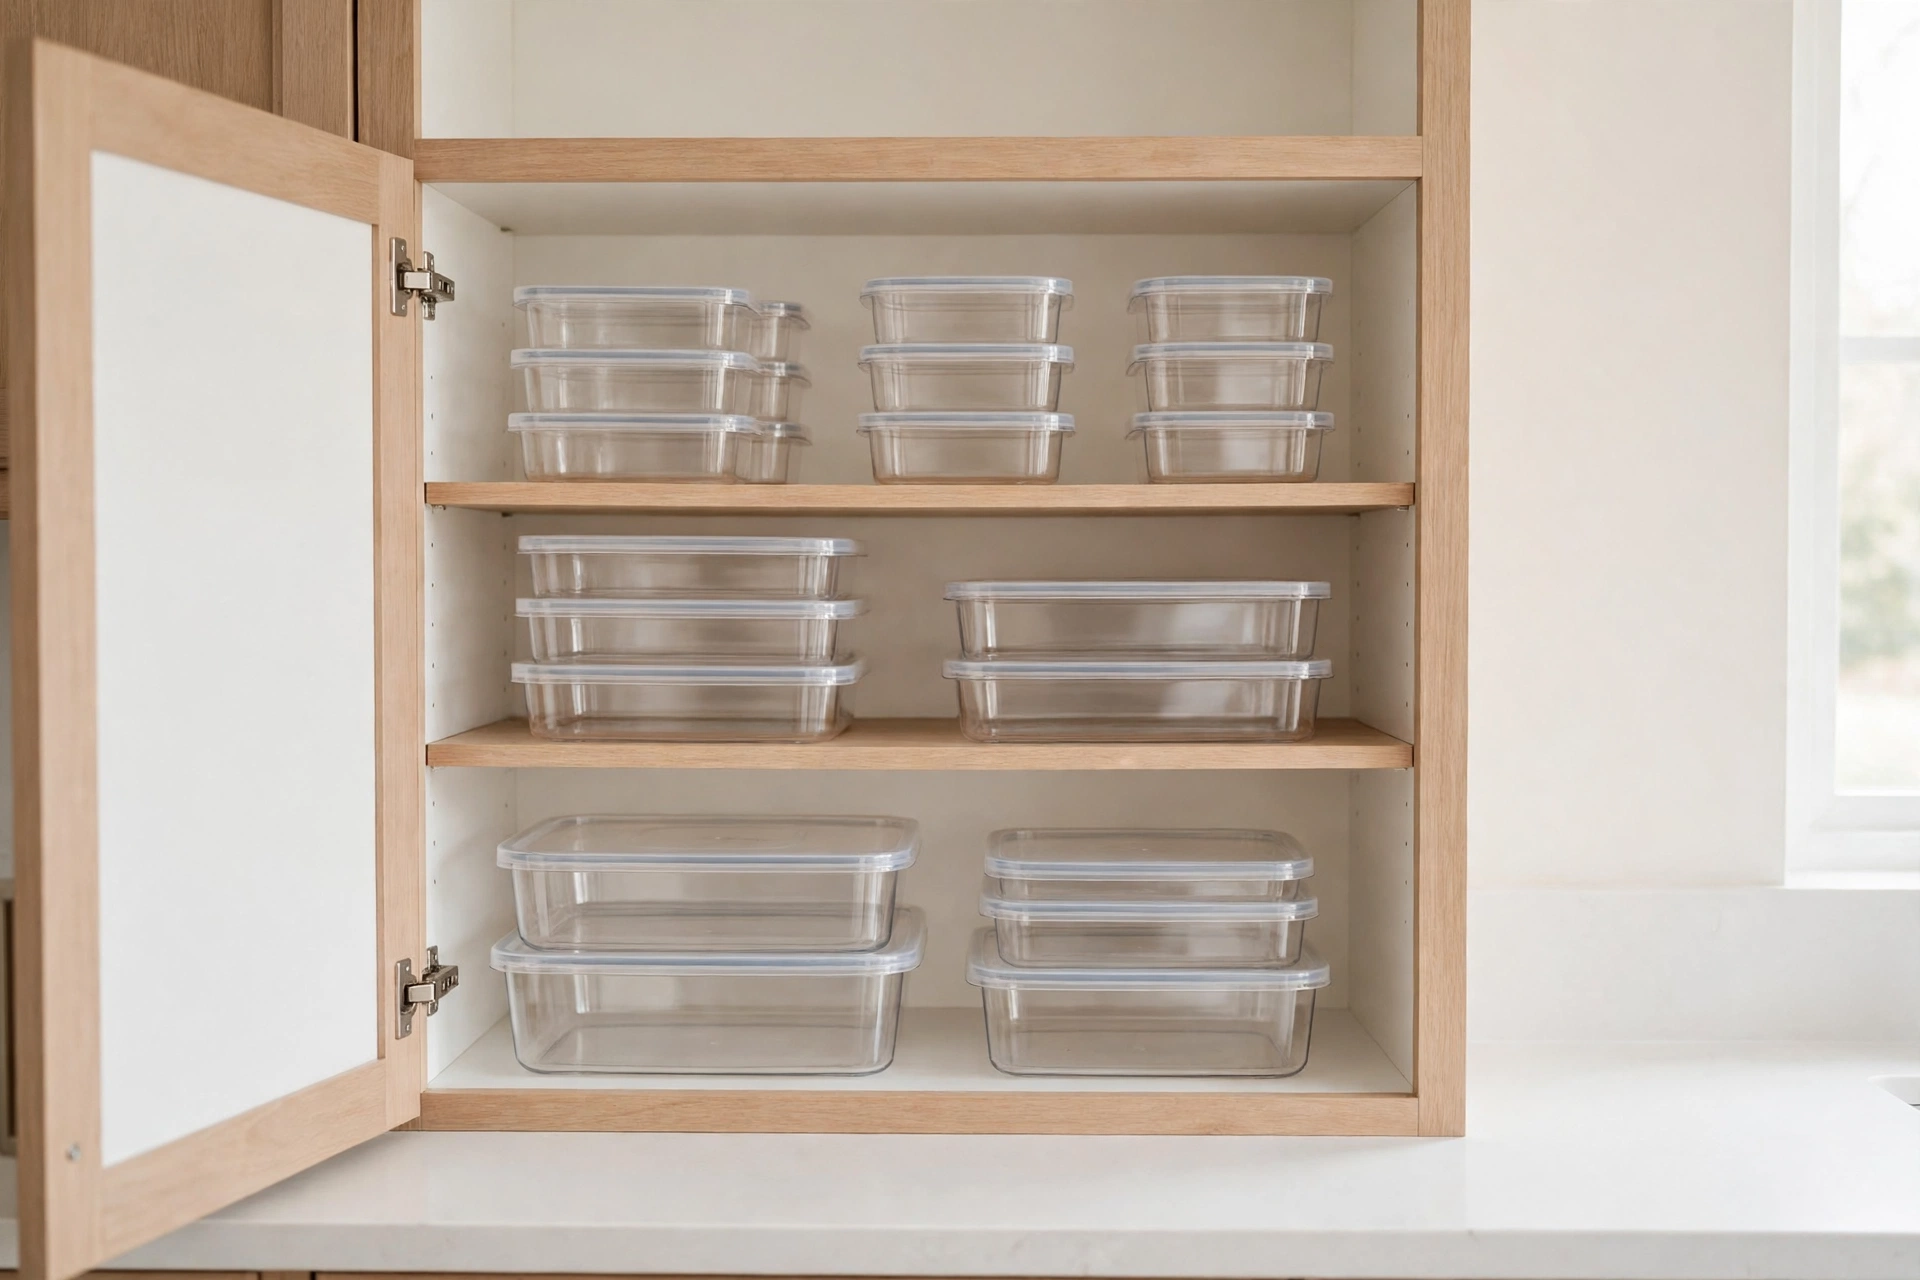
Food storage containers fail in a very specific way: the containers are fine, and the lids are somewhere else. The drawer or cabinet becomes a sliding pile, you pull one container out and three lids fall, and by the time you have found a match, putting leftovers away feels like a chore worth skipping. The fix is not a bigger cabinet. It is treating containers and lids as one system, with a home for each, and a hard limit on how many you keep.
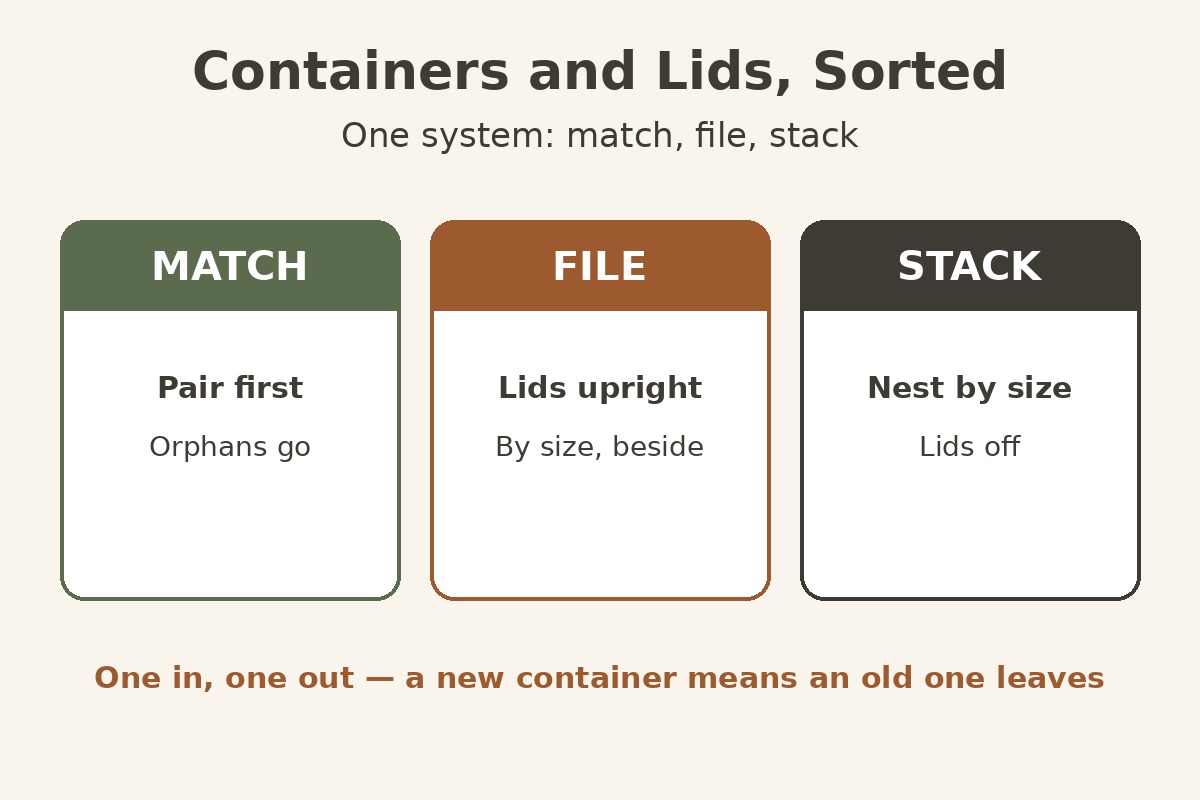
Start with a match-up, not a shopping trip. Pull every container and every lid out, match them on the counter, and set aside anything without a partner. A container with no lid is not storage — it is a bowl that cannot travel or stack — and a lid with no container is clutter. The same goes for cracked, stained, or warped pieces: if a lid no longer seals, it is not keeping food fresh, whatever it once cost.
Step 1: Keep only the sizes you actually use
Most households use three sizes, over and over: a small one for sauces and single servings, a medium one for leftovers and lunches, and a large one for family meals and batch cooking. Everything else — the tiny tub from a takeaway, the novelty-shaped container, the fifth large box — is what fills the cabinet.
Keep a working set of each of your three sizes, enough for a normal week of leftovers, and let the rest go. A good test is the fridge test: if a size has not held food in the last month, it is not part of your routine. Fewer containers also means fewer lids to file, which is where most of the mess actually lives.
Step 2: Store lids in one place, standing up
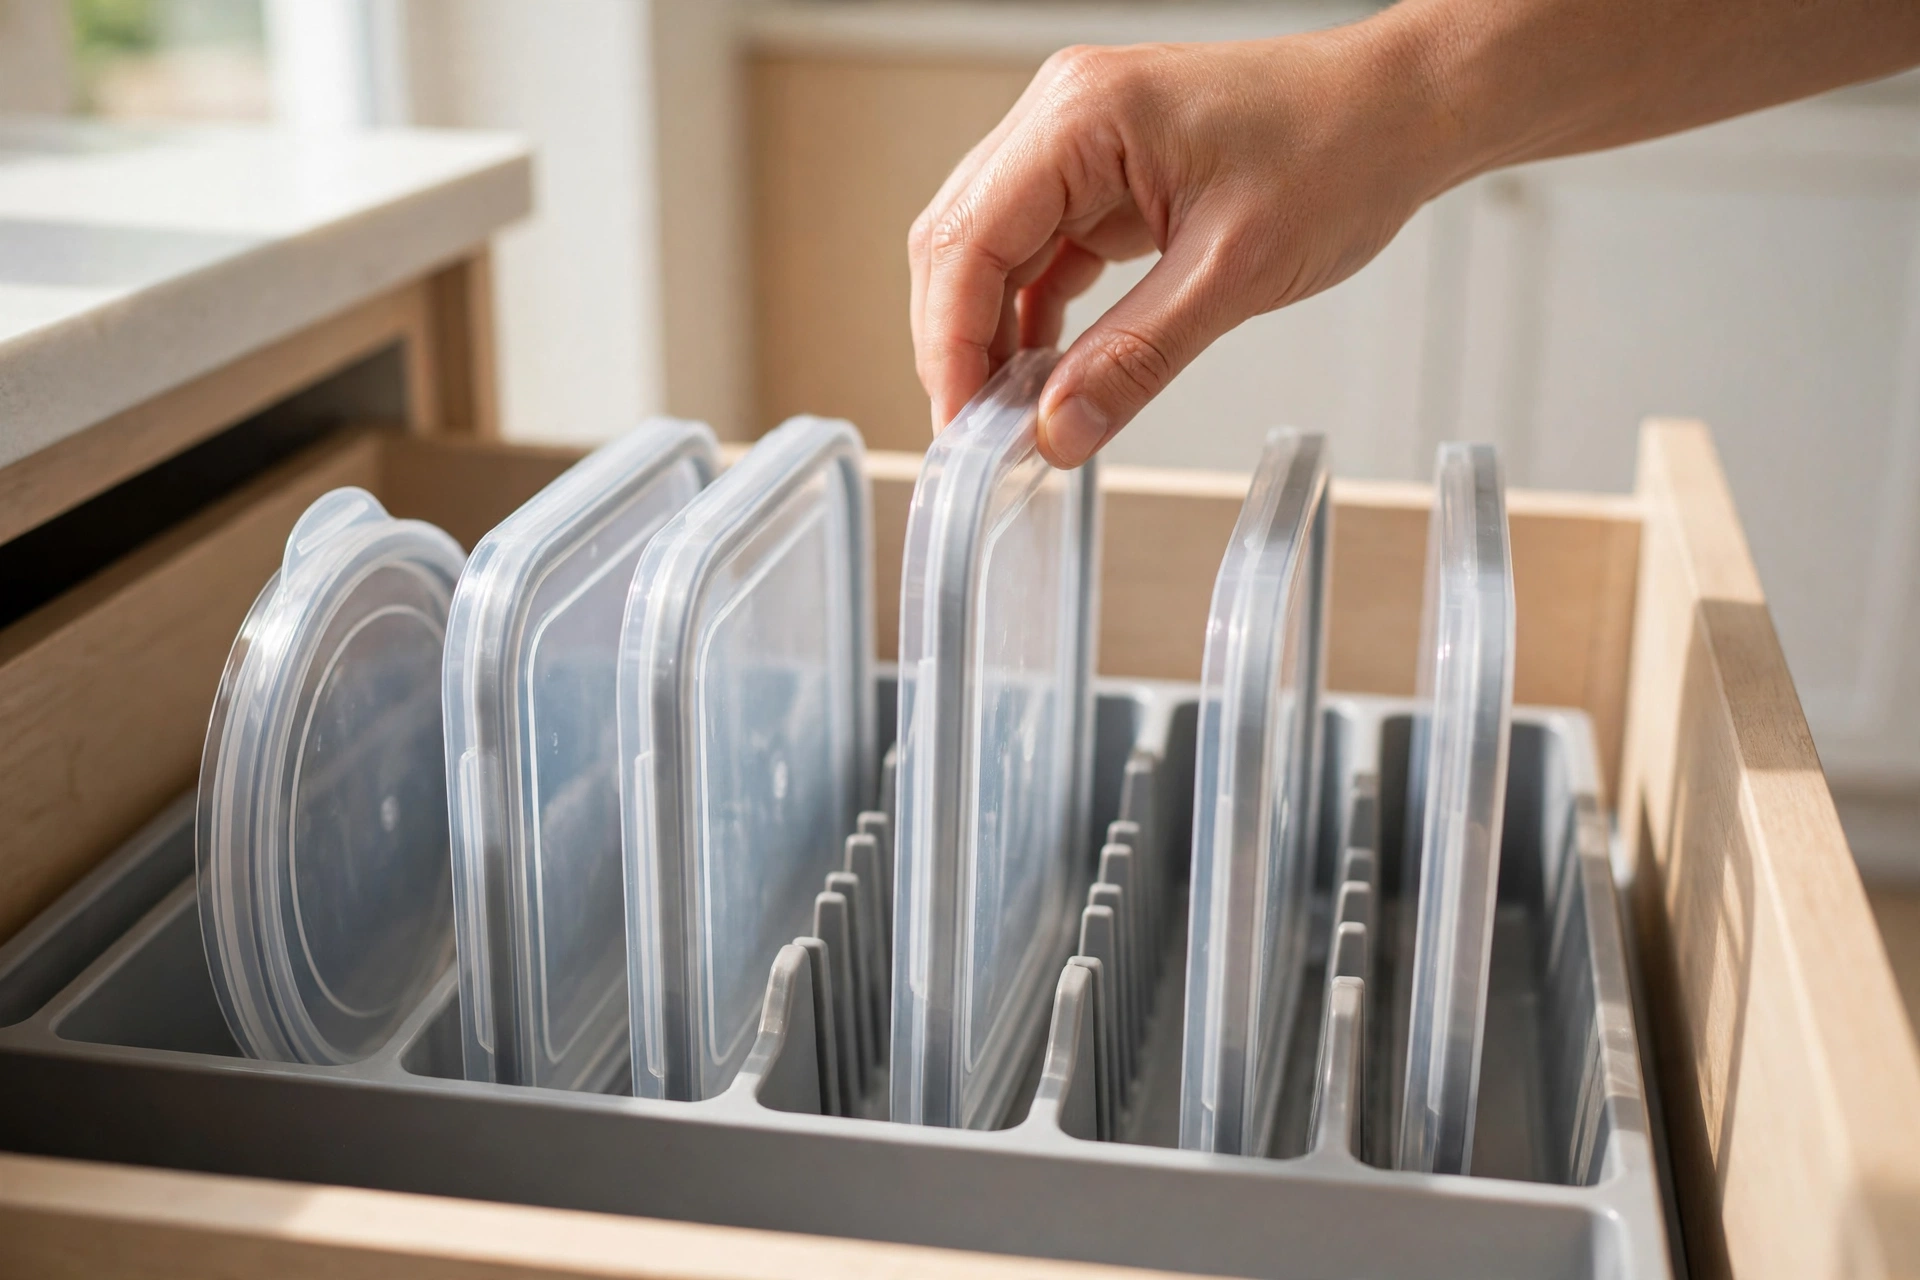
Lids stacked flat are the avalanche. The moment you lift the top lid, the rest slide. Stand lids upright instead, in a narrow bin, a file divider, or a rack inside a drawer or cabinet door — sorted by size, largest at the back. When you need a lid, you flip through them like files and pull the one you want without disturbing the rest.
Keep lids next to, not far from, their containers. If containers live in a cabinet, lids belong in that cabinet or the drawer beside it — never in a different room, or even a different zone of the kitchen. Every extra step between container and lid is a step where the system breaks down on a busy night.
Step 3: Stack containers nested, by size, with lids off
Containers stack best nested, not lidded. Put the smallest of a size inside the next, and keep the whole nested stack in one spot, with its lids filed beside it. Lidded stacks waste height, topple when you pull one out, and hide the size you actually need at the bottom.
If you prefer square containers, they earn their place here: squares stack and nest more neatly than rounds, and they use cabinet corners better. Rounds still work, especially for soups and sauces, but keep rounds and squares in separate stacks — mixing shapes in one stack is what makes a neat pile lean and fall.
Step 4: Give leftovers a landing zone
The system only works if putting food away is faster than leaving it on the counter. Keep the everyday containers and their lids where leftovers are packed — near the fridge, not in a high cabinet across the kitchen. A low drawer or a cabinet shelf at waist height beats a perfect system that requires a step stool.
This is the same bin-and-zone idea that keeps a fridge readable. For the cold half of the system, How to Organize Your Fridge (Bins, Zones and What Goes Where) — it uses an eat-first bin so leftovers stay visible, and for the dry half, How to Organize Deep Pantry Shelves (Bins, Risers, Turntables) — it uses the same group-by-use method on pantry shelves. Containers are the bridge between the two: what leaves the fridge in a container should have a lid waiting beside it.
Step 5: Run a one-in-one-out rule
Containers multiply quietly — a new set arrives, a takeaway tub stays, a lid set grows by one — until the cabinet is full again. The rule that stops it is simple: every new container that enters the kitchen means one old container leaves it. Keep a small bag or box for outgoing pieces, and take it out when it is full, not when the cabinet overflows.
Once a season, repeat the match-up from step 1. It takes ten minutes, and it catches the orphans before they become a pile again: unmatched lids, cracked boxes, and the size you stopped using. A container system that gets a ten-minute reset stays a system; one that does not becomes a drawer you avoid opening.
| Rule | What to do | Watch out for |
|---|---|---|
| Match first | Pair every container with its lid before storing | Orphans go — a container without a lid is not storage |
| Three sizes | Small, medium, large — the sizes you use weekly | Novelty and takeaway tubs fill the cabinet |
| Lids upright | File lids vertically, by size, beside the containers | Flat lid stacks slide and avalanche |
| Nest, don’t lid | Stack containers nested by size, lids filed separately | Lidded stacks waste height and topple |
| Landing zone | Everyday containers near the fridge, at waist height | A system that needs a step stool gets skipped |
| One-in-one-out | A new container in means an old one out | Seasonal match-up catches orphans early |
Frequently asked questions:
Should containers be stored with lids on or off?
Off, nested by size, with lids filed upright beside them. Lidded stacks take more height, hide the size you need, and topple when you pull one out.
How do I stop lids from getting lost?
Give lids one home, standing upright in a bin or divider, right next to the containers — never in a separate zone. If a lid has no filed spot, it will end up loose, and loose lids are lost lids.
Square or round containers — which organize better?
Square containers stack, nest, and use cabinet corners better, so they usually win for leftovers and dry storage. Rounds still suit soups and sauces; just keep rounds and squares in separate stacks.
How many containers should I actually keep?
Enough for a normal week of leftovers in your three working sizes, and no more. If a size has not held food in the last month, it is not part of your routine.
What do I do with containers that have no matching lid?
Let them go, unless the container works on its own as an open bin for pantry or drawer storage. A lidless container kept “just in case” is how the pile starts again.
Shop This Guide’s List
Prefer to shop it all in one place? Every product in this guide is collected in our Benable list: I Finally Found Containers & Lids That Actually Stack — and the Lids Don’t Vanish — tap any item to see it at the store.

One Comment