Small Kitchen Storage Ideas: Using Walls, Doors and Vertical Space
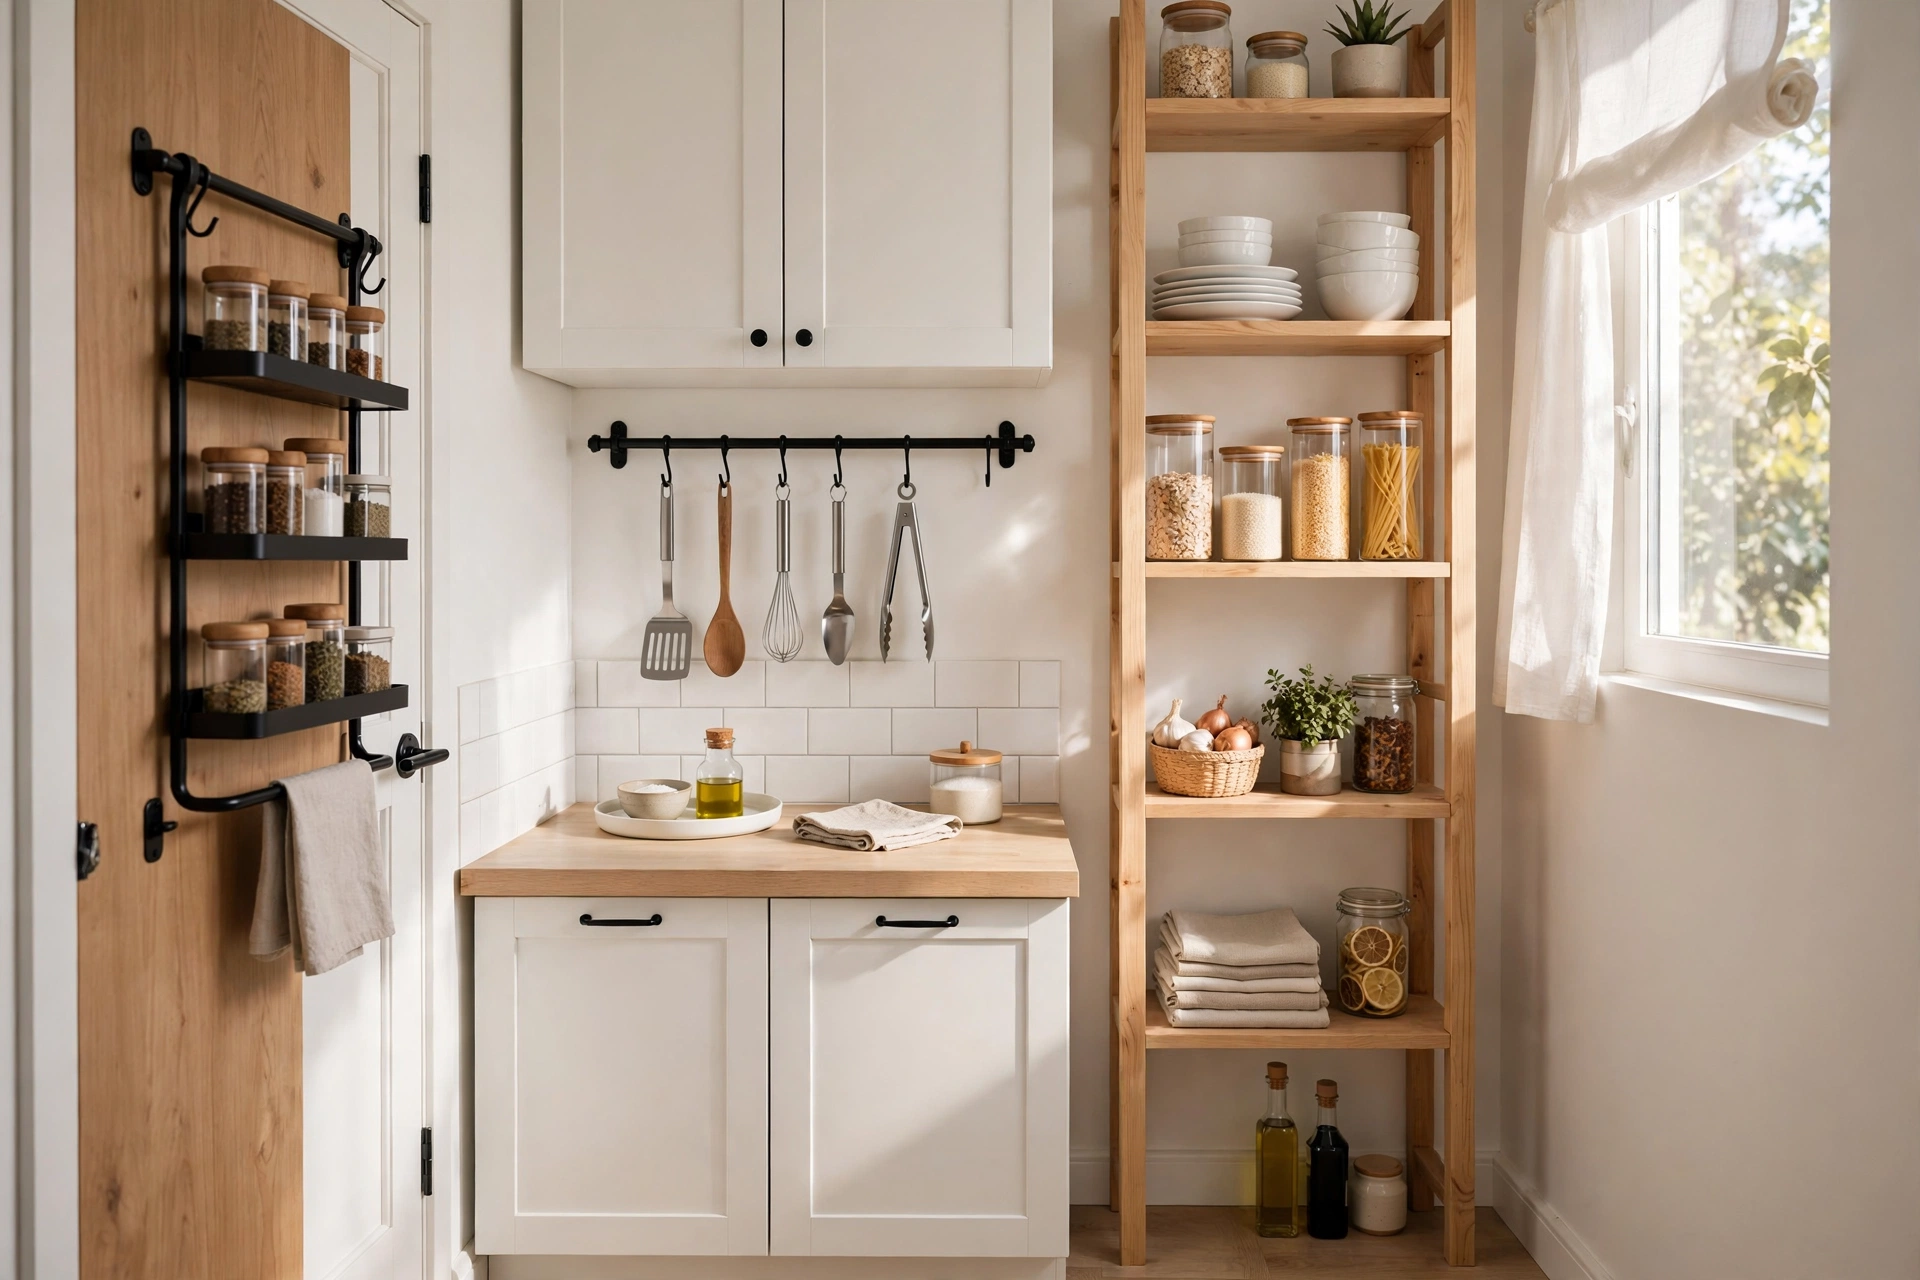
When the counters are full and the cabinets are full, the next storage in a small kitchen is not in a new unit — it is on the walls, inside the doors, and up toward the ceiling. Those surfaces are already there, and they hold a surprising amount once each one is given a single job. The trick is not to cover every wall. It is to pick three vertical spots, fill each one by task, and leave the rest of the kitchen alone.
Start with a walk-around, not a shopping list. Stand in the middle of the kitchen and look up, then look at the inside of every door. The empty stretch of wall beside the stove, the back of the pantry door, the gap above the fridge, and the narrow side of a cabinet are all storage that a small kitchen already owns. Most small kitchens gain the equivalent of a whole cabinet from those spots, without losing a single centimetre of counter.
Step 1: Put daily tools on one wall rail
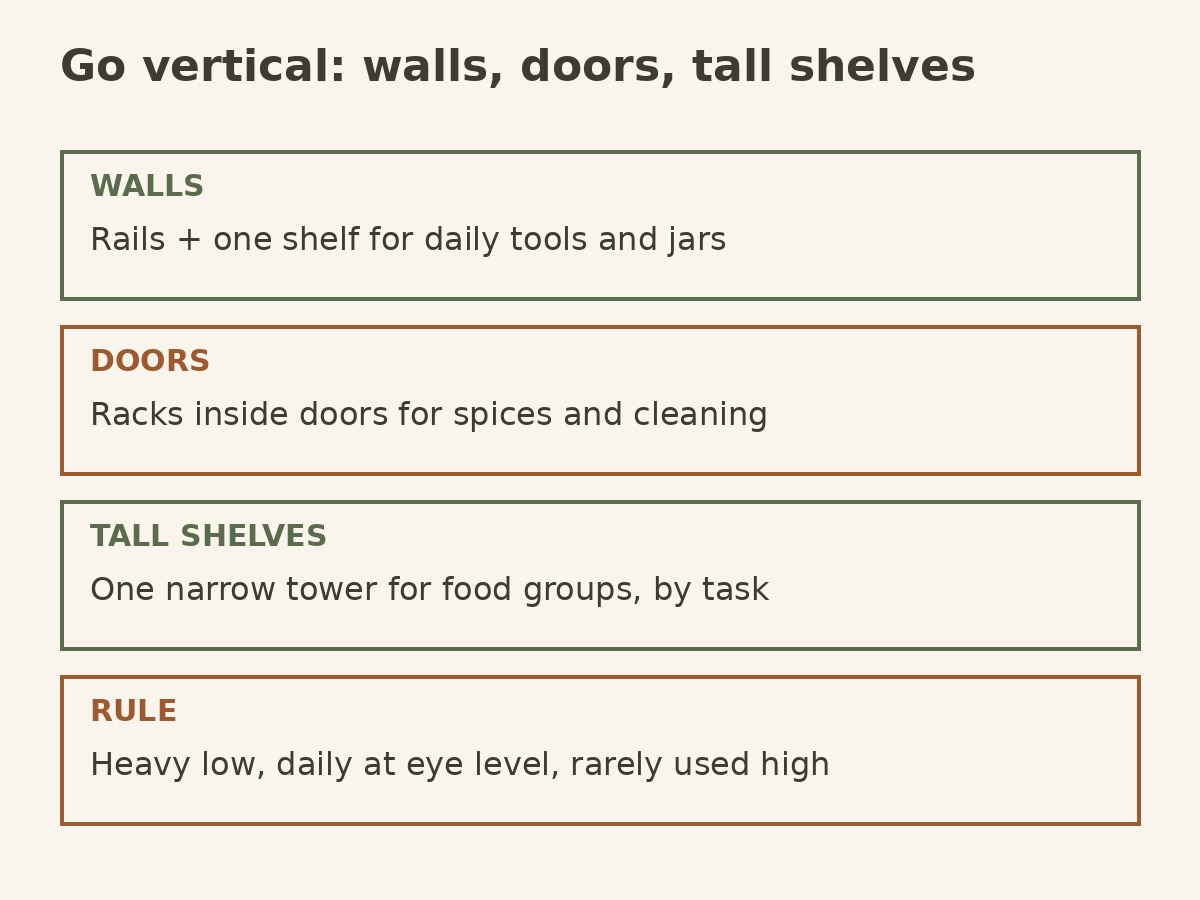
A wall rail beside the stove or the prep counter is the highest-value vertical spot in a small kitchen, because it moves the tools used every day out of a drawer and into reach. Hang the spatula, the tongs, the whisk, and the ladle — the four or five tools that actually get used daily — and nothing else. A rail with twenty tools is a display that gets in the way; a rail with five tools is a workstation.
Keep the rail at arm’s height, not above head height, and keep it short. One rail, one task, one stretch of wall. The same task-first thinking runs through How to Organize a Kitchen by Zones (Prep, Cooking, Cleaning, Storage): tools live where their task happens, so cooking never starts with a search through a drawer.
Step 2: Add one shelf for the daily dozen — and stop there
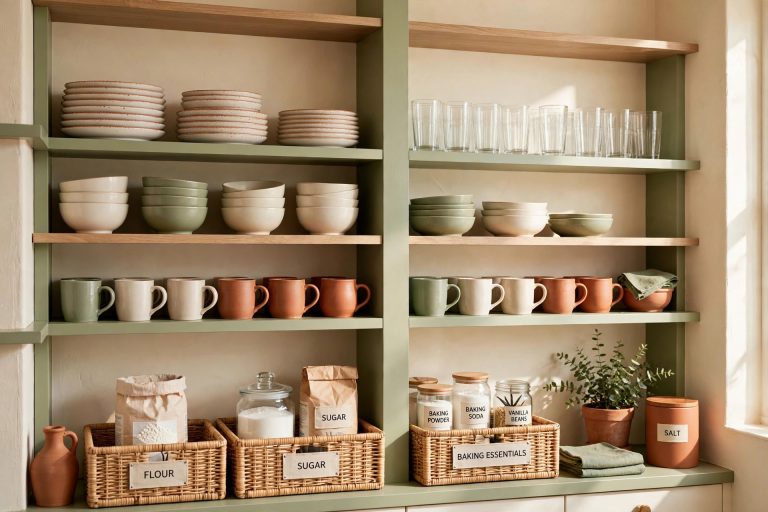
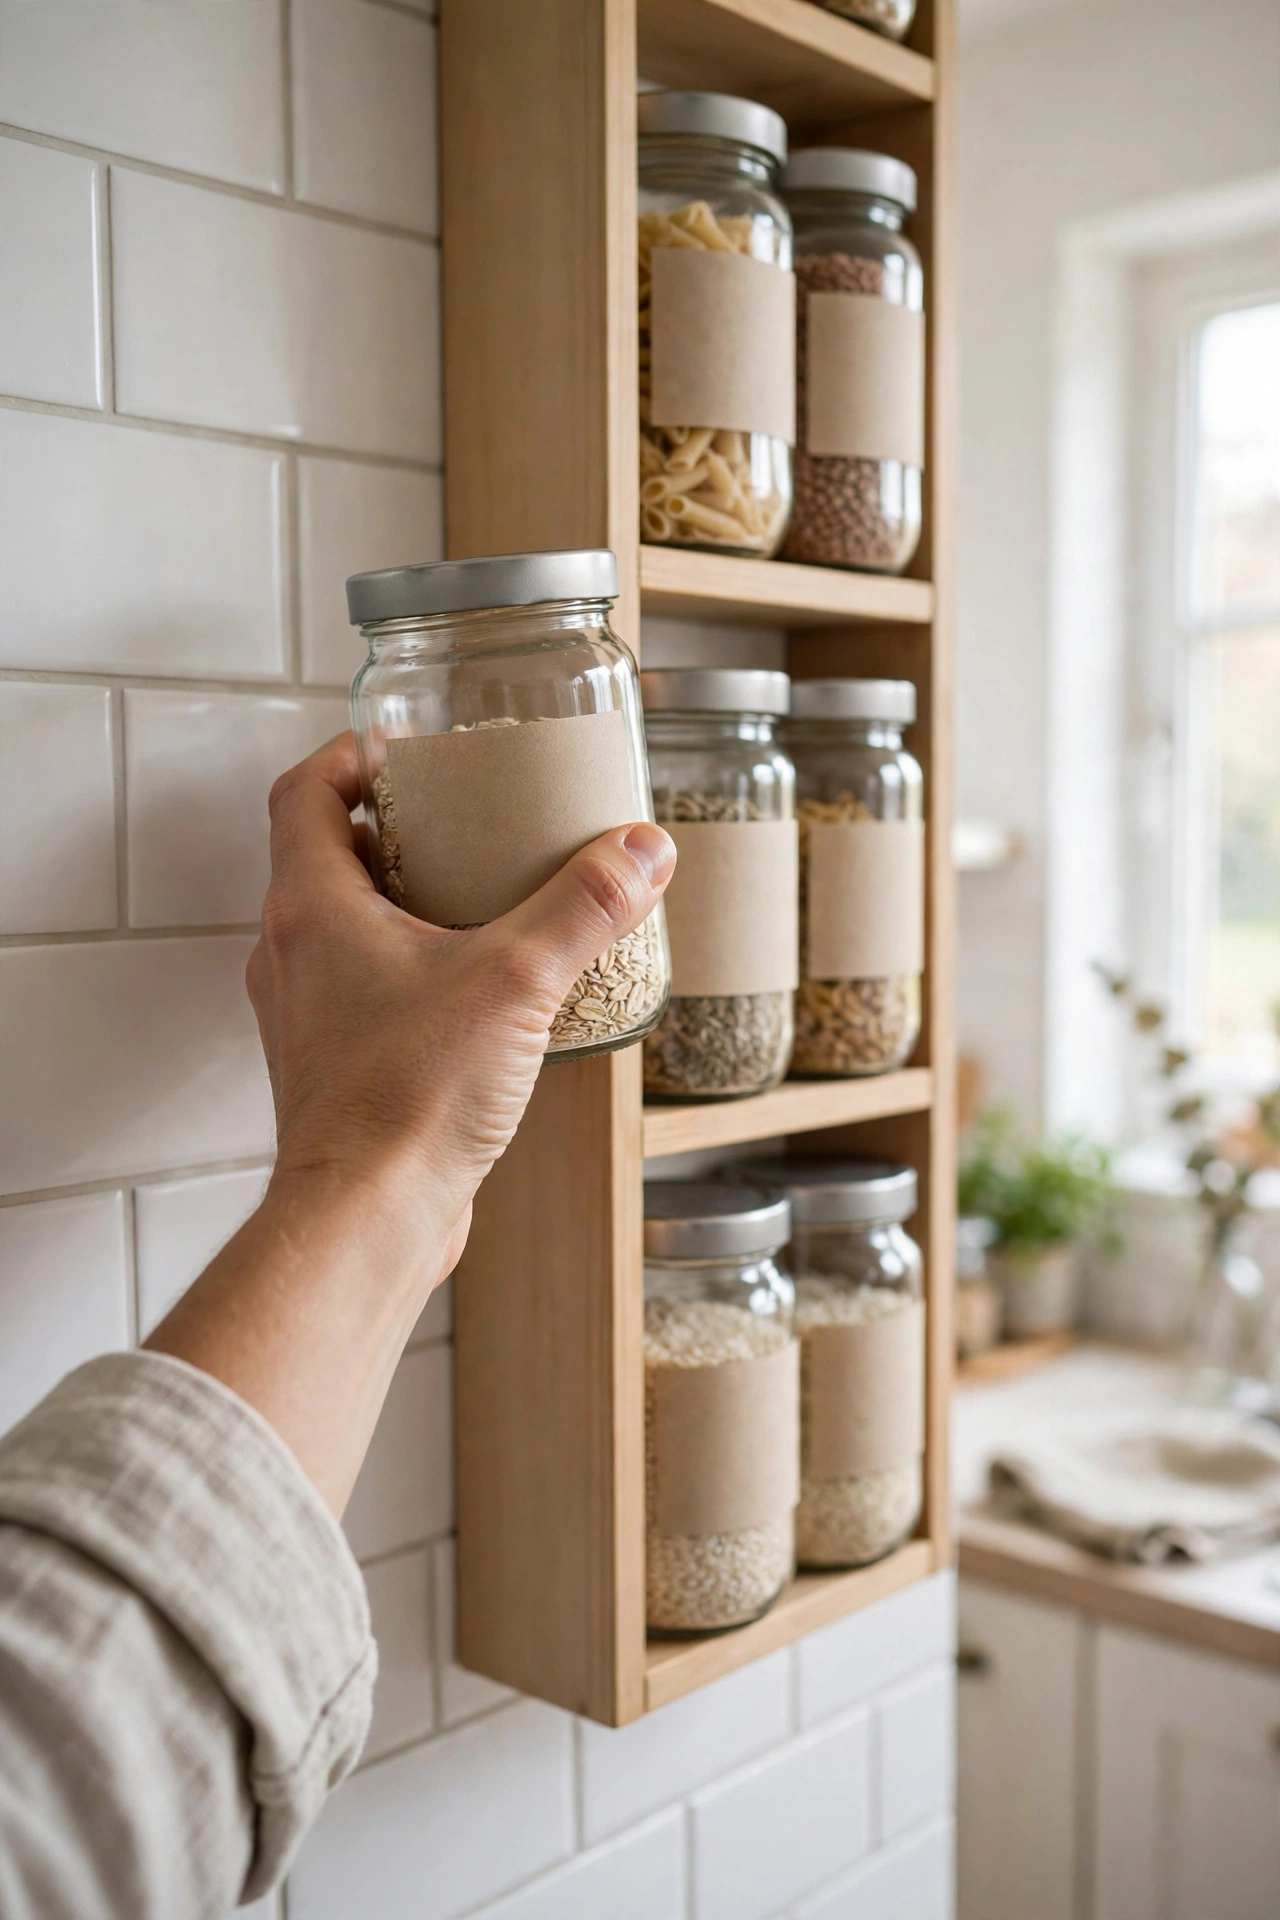
Above the rail, or on the free stretch of wall nearest the kettle, one open shelf can carry the dozen items reached for most: oils, salt and pepper, coffee, oats, and the pasta cooked weekly. Keep it to one shelf, in uniform clear containers with labels. Uniform containers matter here more than anywhere, because an open shelf is on show: matching jars stack neatly, pour cleanly, and show at a glance what is running low.
Do not add a second and third shelf by default. A second shelf usually becomes a home for things that are not used daily, and then the wall looks crowded and the shelf needs dusting more than it saves time. If the first shelf is full, something on it is not a daily item — move it to a cabinet zone instead. How to Organize a Small Apartment Kitchen in 7 Steps (Renter-Friendly) uses the same discipline: visible storage earns its place by being used daily, and everything else goes behind a door.
Step 3: Use the inside of doors for spices and cleaning
Cabinet and pantry doors are the most wasted surface in a small kitchen. A shallow rack on the inside of a door holds spices, small jars, or cleaning sprays without taking any shelf space at all — and because the rack moves with the door, it is easy to see everything at once. Spices on a door rack beside the stove mean cooking never involves pulling a whole shelf of jars out to find the paprika.
Two rules keep door storage working. First, keep it shallow: only items that fit flat against the door, so the door still closes cleanly and nothing rattles. Second, keep it to one door per task — spices on one door, cleaning supplies on another — so opening a door never becomes a hunt. For the cleaning side of that rule, How to Organize Cleaning Supplies Under the Sink groups supplies by task in the same way, and a door rack is simply that grouping moved onto a surface that was empty.
Step 4: Let one tall, narrow unit carry a whole food group
The narrow gap at the end of a counter, beside the fridge, or between a cabinet and the wall is often dismissed as dead space. A tall, narrow shelf unit in that gap can carry a whole food group — breakfast, baking, or snacks — from floor to eye level, with the heaviest items at the bottom and the daily items at eye level. Height is the point: a tall unit holds as much as a wide cabinet while taking a fraction of the floor.
Load it by the same heavy-low rule used everywhere else: heavy tins and bulk jars at the bottom, daily items at eye level, and rarely used items at the top. A tower that follows that rule stays stable and stays used; a tower loaded top-heavy with daily items becomes a chore to reach into. The no-pantry version of this idea is How to Organize a Kitchen With No Pantry: when there is no pantry cupboard, each food group still gets exactly one zone, and a tall unit is one of the best zones a small kitchen has.
Step 5: Reserve the top for rarely used, and label it
The space above cabinets and above the fridge is real storage, but only for things used a few times a year: the holiday platter, the big roasting tin, the spare baking trays. Put those up high in a labelled bin, so they can be fetched in one trip and put back in one trip. Anything needed weekly does not belong up there — if it has to be fetched with a step stool every week, it will end up living on the counter instead.
This is also where the weekly discipline pays off. How to Keep a Kitchen Organized: A Weekly 15-Minute Reset Routine is the habit that keeps vertical storage from drifting: a short weekly check that each rail, rack, and shelf still holds only its own task, and that nothing has crept onto the counter from a shelf that got too full.
Step 6: Edit before you add
Vertical storage fails when it becomes extra storage for extra things. Before adding a rail, a rack, or a shelf, take one thing off the counter or out of a cabinet for everything the new spot will hold. A wall rail that holds five tools freed from a drawer is a win; a wall rail that holds five new tools on top of a full drawer is clutter moved to eye level. The declutter-first order is the same one in How to Declutter a Kitchen Before You Organize It: shrink the stock, then give what is left a home — never the other way round.
If a vertical spot keeps filling up, the spot is not the problem. Something in it is not used often enough to live there, or the household is buying more than the kitchen can hold. Move the least-used item to a higher, harder-to-reach zone, and the rail, rack, or shelf will start keeping itself tidy again.
Summary table
| Vertical spot | What lives there | Watch out for |
|---|---|---|
| Wall rail | 4–5 daily cooking tools, at arm’s height | A rail crowded with rarely used tools |
| One open shelf | Daily dozen in uniform labelled containers | Second and third shelves becoming clutter |
| Inside doors | Spices on one door, cleaning on another | Deep items that stop the door closing |
| Tall narrow unit | One food group, heavy low, daily at eye level | Top-heavy loading, or daily items up high |
| Above cabinets/fridge | Rarely used items in one labelled bin | Weekly items fetched with a step stool |
| Edit first | One thing out for everything new that goes up | Vertical storage as extra room for extra things |
Frequently asked questions
What is the best vertical storage for a very small kitchen?
One wall rail for daily tools and one shallow rack inside a door for spices. Those two spots free a drawer and a shelf with no floor space lost, and they are the easiest to keep tidy.
How do I stop open shelves looking cluttered?
Keep them to one shelf of daily items in uniform clear containers, and nothing else. Matching jars, one row deep, with labels facing out, read as intentional; mixed boxes and a second crowded shelf read as clutter.
Can I use door racks in a rented kitchen?
Yes, if the rack hangs over the door or fixes with removable adhesive rather than screws — check the door still closes cleanly and nothing rattles. Keep the rack shallow and light so the hinges are not strained.
Where should heavy items go in vertical storage?
Always low: the bottom shelf of a tall unit, or the bottom of a door rack. Heavy items up high make the unit unstable and turn every fetch into a strain.
How often should I re-check vertical storage?
A quick look during the weekly reset is enough: each rail, rack, and shelf should still hold only its own task. If something keeps drifting to the counter, its spot is wrong — move it closer to where it is used.
Shop This Guide’s List
Prefer to shop it all in one place? Every product in this guide is collected in our Benable list: I Finally Found a Way to Add a Whole Cabinet — Without a Remodel — tap any item to see it at the store.