How to Organize Kitchen Cabinets So You Can Actually Reach Things
If you can only ever find half of what you own in your kitchen cabinets, the problem is rarely how much you own. It is where things sit. Organize your cabinets by how often you reach for something, and put daily items between your waist and your eyes, and the whole kitchen gets easier overnight — no new cabinets, no renovation, no perfect matching containers required.
That one rule — frequency decides height — is the whole method. Everything below is just applying it, cabinet by cabinet.
Step 1: Empty one cabinet at a time
Do not empty every cabinet at once. You will end up with a kitchen full of piles and nowhere to cook dinner. Pick one cabinet, take everything out, wipe the shelf, and sort what came out into three piles: keep here, move elsewhere, and let go. The “let go” pile is the chipped mugs, the lid with no container, the gadget you have not touched in a year. Be honest here, because every item you keep has to earn a shelf.
Repeat cabinet by cabinet. Most kitchens take an afternoon, not a weekend, and working one cabinet at a time means the kitchen stays usable throughout.
Step 2: Set up reach zones
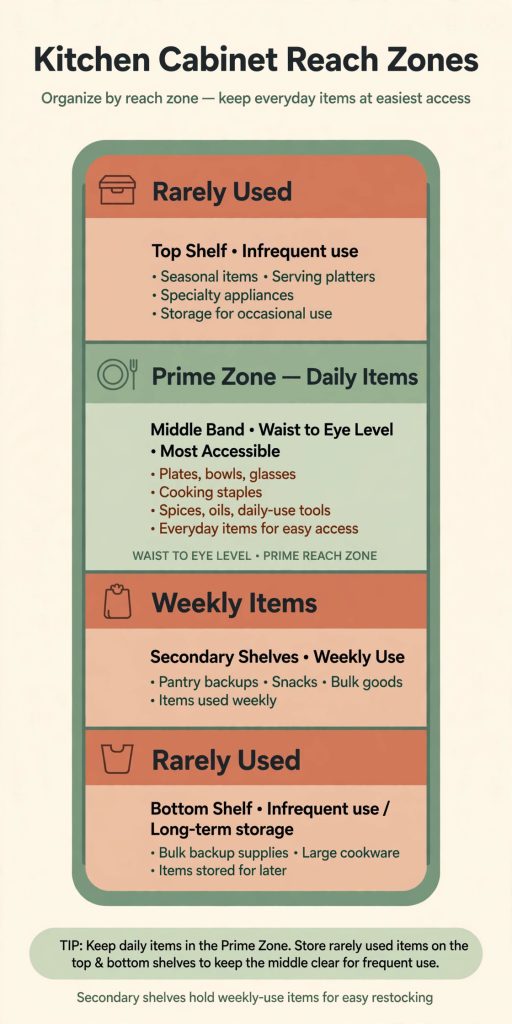
Think of each cabinet in three horizontal bands:
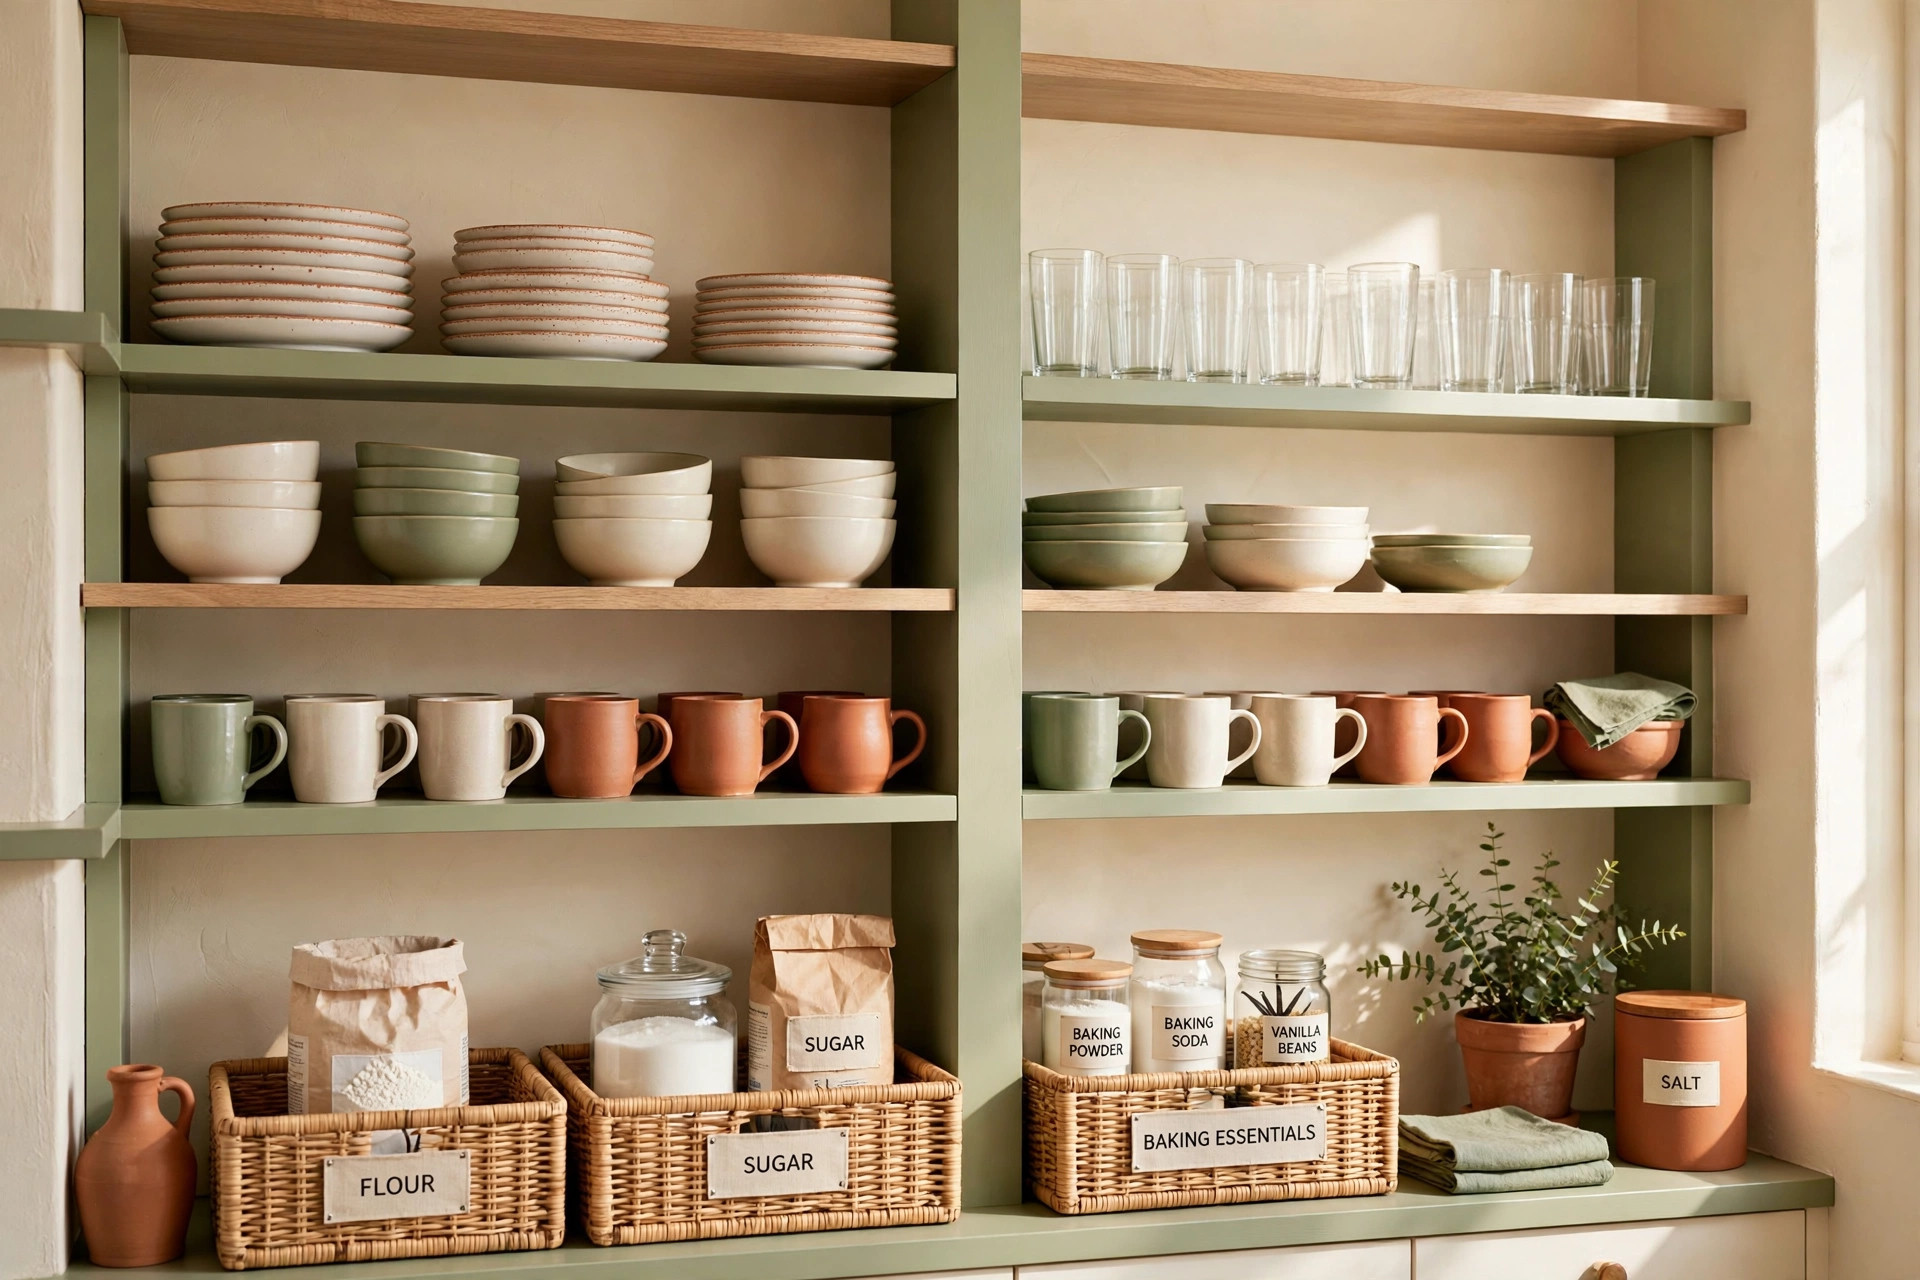
- Prime zone — waist to eye level. This is where daily items live: the plates and bowls you eat from, the glasses you drink from, the mugs, the cooking oil, and the spices you actually use every week. If you have to stretch, crouch, or climb to reach something you use daily, it is in the wrong zone.
- Secondary zone — just above eye level, or low shelves you crouch for. Weekly items go here: the baking dishes, the blender, the larger pots, the serving platters. You reach them often enough to know where they are, but not so often that a stretch matters.
- Top and bottom zone — the highest shelf and the floor-level shelf. Rarely used items only: the turkey roaster, the holiday dishes, the fondue set, the extra stockpot. If something lives here and you use it weekly, swap it with something from the prime zone.
When you are done, stand in front of each cabinet and ask one question: can I get the thing I use most in this cabinet without a step stool or a deep crouch? If the answer is no, move that one item first. Small moves beat full reorganizations.
Step 3: Fix the deep cabinet problem
Deep cabinets are where kitchenware goes to disappear. The fix is to stop stacking things in rows that hide each other:
- Put the most-used item at the front, and group the rest behind it by task, not by size. Baking items together, everyday cooking items together. A row of unrelated things sorted by height looks tidy and functions terribly.
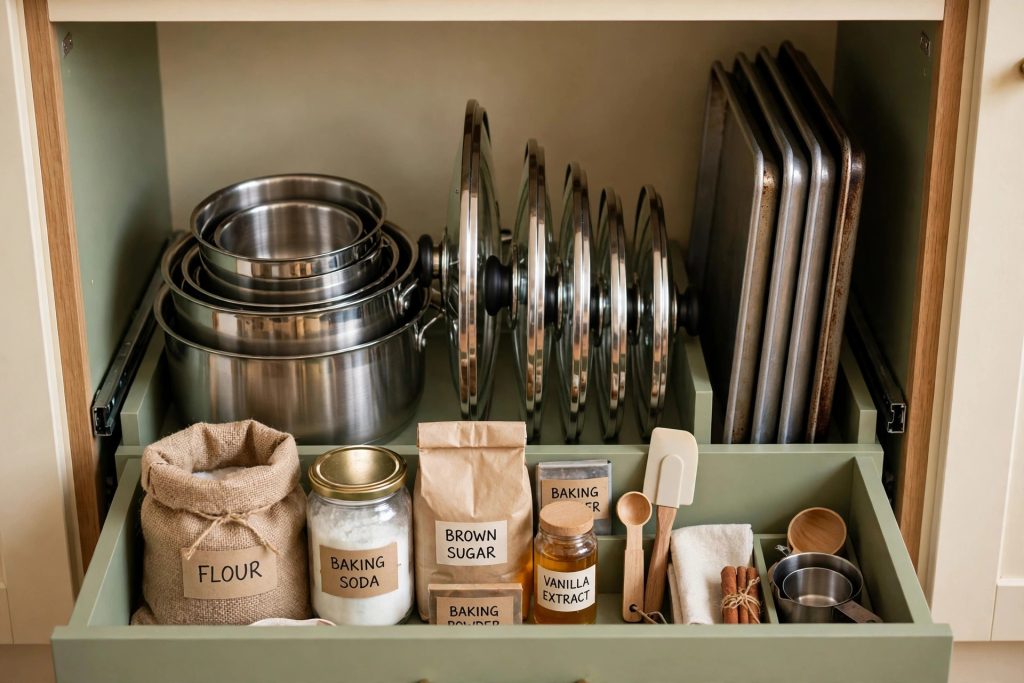
- Use a bin or basket as a drawer you can pull out. One bin per task group — one for baking, one for food storage, one for cleaning supplies under the sink — so you pull the whole group out, take what you need, and slide it back. This is the single change that makes deep cabinets usable, and it works even in a rental, since nothing is screwed in.
- Never stack more than two or three of anything. A stack of six bowls means lifting five to reach the sixth. Keep the stack short and keep the extras elsewhere, or let them go.
- Leave a little empty space on purpose. A cabinet packed edge to edge cannot be used without moving three things first. One hand-width of breathing room at the front of each shelf is not wasted space; it is what makes the shelf work.
If your kitchen has one cabinet that is deeper than the rest, give it the bulky, single-purpose items — the stockpot, the slow cooker, the mixing bowls — and keep the small daily items in the shallower cabinets where nothing can hide behind anything else.
Step 4: Pots, lids, and baking sheets
These three categories cause more cabinet chaos than everything else combined, because they are awkward shapes that do not stack neatly.
- Pots: Nest them, largest to smallest, with lids stored separately. Nesting by size works; nesting randomly does not. Keep the one pot you use most often on top of its nest, not buried at the bottom of it.
- Lids: Stand them upright in a row, like books, in a bin or a simple rack. Flat-stacked lids are the reason you own seven lids and can only find two. Once they stand upright, you can see every lid at a glance, and the missing ones become obvious.
- Baking sheets and cutting boards: Store them upright too, on their long edge, in a narrow bin or a vertical divider. Flat stacks of baking sheets slide, scratch, and jam; upright, they slide out one at a time. This also frees a whole shelf, because a vertical row of sheets takes far less room than a flat stack of the same sheets.
Give these three groups their own homes. When pots, lids, and sheets share a cabinet with everything else, they take it over. When each has its own spot, the rest of the cabinet stays calm.
Step 5: Label the zones you will forget
You do not need labels on every shelf. Label the two or three spots that confuse the household: the baking bin, the back-of-cabinet overflow, the shelf where the rarely used items live. A small label stops the slow drift where things migrate back to wherever they fit in the moment, and it means anyone in the house can put things away in the right place without asking.
Then do a two-minute reset once a week — pull out anything that wandered, push bins back to the front, and return the daily items to the prime zone. Cabinets do not stay organized by themselves; they stay organized because the reset is short enough to actually happen.
How cabinets fit the rest of the kitchen
Cabinets are one zone in a larger system. If you have not set up your kitchen by zones yet, start with How to Organize a Kitchen by Zones — it decides which cabinet should hold what, before you organize inside any single cabinet. And if your food storage is the messy part, pair this guide with How to Organize a Small Pantry Step by Step. For a tight kitchen where every cabinet counts double, How to Organize a Small Kitchen Without Adding Cabinets covers the space-saving side of the same problem.
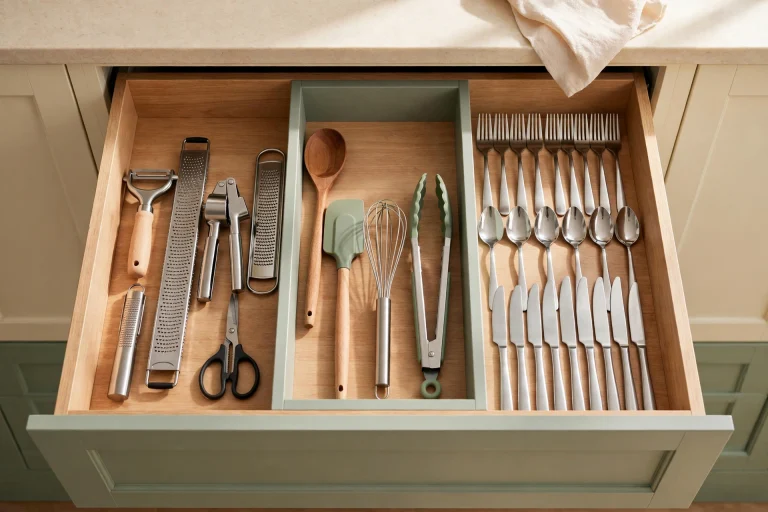
Cabinets and drawers work as a pair: cabinets hold the bulky and the tall, drawers hold the small and the daily. See How to Organize Kitchen Drawers by Task, Not by Item.
Summary table
| Cabinet zone | What goes there | How often you reach it |
|---|---|---|
| Prime (waist to eye level) | Daily plates, bowls, glasses, mugs, cooking oil, weekly spices | Every day |
| Secondary (just above eye level / low crouch shelves) | Baking dishes, blender, larger pots, serving platters | Weekly |
| Top and bottom shelves | Turkey roaster, holiday dishes, fondue set, spare stockpot | Rarely |
| Deep cabinet fix | One bin per task group, pulled out like a drawer | Every use |
| Pots | Nested largest to smallest, lids stored separately | Daily / weekly |
| Lids and baking sheets | Standing upright, like books, so every one is visible | Daily / weekly |
Frequently asked questions
How do I organize kitchen cabinets without buying anything?
Start with the reach zones alone: move daily items to waist-to-eye level, move rarely used items to the top shelf, and stop stacking more than three of anything. That costs nothing and fixes most of the daily frustration. Bins and dividers help later, but the zone change is the real fix.
What is the best way to organize deep kitchen cabinets?
Group items by task into bins you can pull out like drawers — one bin for baking, one for food storage, one for cleaning. Pulling out the whole group beats reaching past five things to find one, and it works in a rental with nothing screwed in.
Where should pots and pans go in a kitchen cabinet?
Nest pots largest to smallest in a lower cabinet, and store lids standing upright in a separate row or bin. The most-used pot goes on top of its nest, not buried under three others.
Should everyday dishes go in upper or lower cabinets?
Whichever is at waist-to-eye level in your kitchen and closest to where you eat and wash up. In most kitchens that is an upper cabinet near the dishwasher or sink for plates and bowls, and a lower cabinet for heavy pots. Frequency and closeness matter more than upper versus lower.
How do I keep cabinets organized after organizing them?
Do a two-minute weekly reset: return wandered items to their zone, push bins to the front, and move any daily item that drifted back to a high or low shelf. Short resets work; big reorganizations every six months do not.
Alana writes about small-space and kitchen organization for LittleAdored.

One Comment