How to Make DIY Drawer Dividers That Keep Kitchen Drawers Organized
A drawer without dividers is a drawer that reorganizes itself every time it closes. Utensils slide, cutlery mixes, and the drawer that looked tidy on Sunday is a tangle by Wednesday. Bought inserts help, but they are sized for someone else’s drawer and someone else’s tools. Dividers made for your drawer — cut to its exact width, depth, and contents — stay put, because there is nowhere for them to slide to.
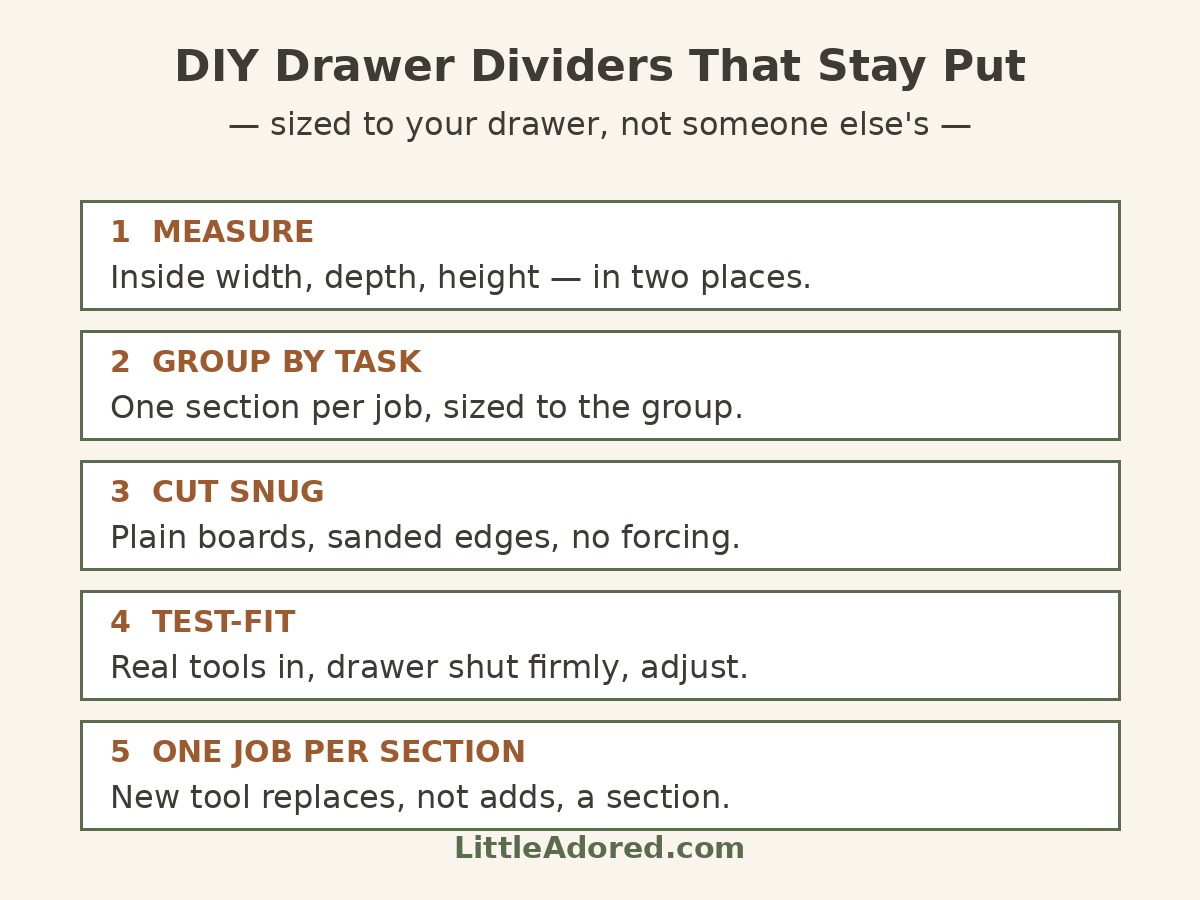
Start with the answer in one sentence: empty the drawer, group its contents by task, measure the drawer inside, cut plain boards to fit snugly, and test the layout with the real tools in it before fixing anything in place. Everything below is that sentence, unpacked.
Step 1: Empty the drawer and group by task, not by item
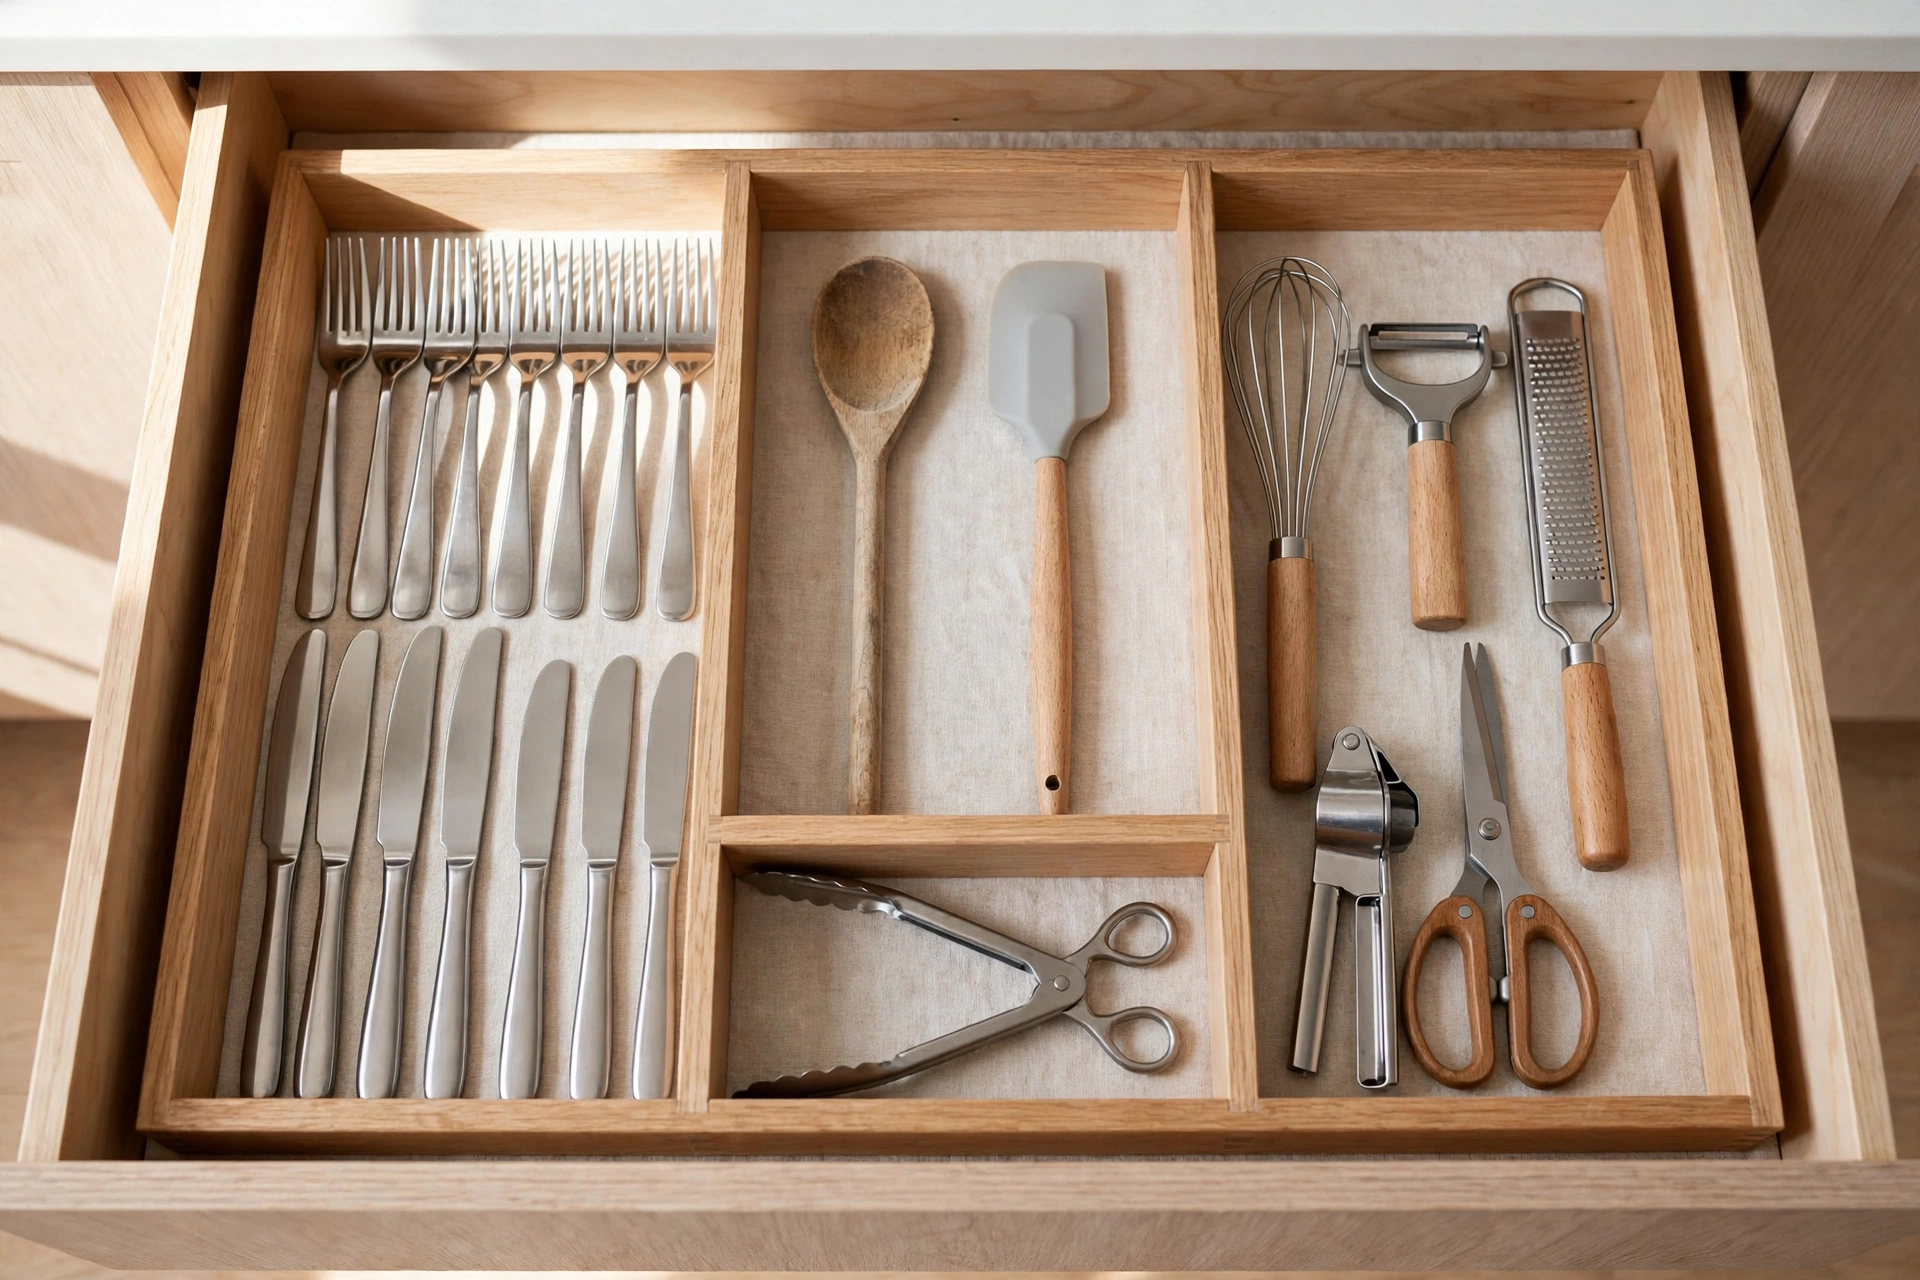
Take everything out and sort it by the job it does: everyday cutlery, cooking tools, serving tools, and the odds and ends that do not belong in this drawer at all. This is the same task grouping as How to Organize Kitchen Drawers by Task, Not by Item — a divider layout built around tasks stays sensible, while one built around item types drifts back into a junk drawer.
Be honest at this step: tools that are broken, duplicated, or unused for a year leave the drawer before any divider is cut. A divider for a tool you never use is just a tidy way of keeping clutter. If the drawer still overflows after that pass, it holds too much for one drawer — split it, rather than building dividers to defend an impossible load.
Step 2: Measure the inside, not the front
Measure the drawer’s inside width, depth, and height, in at least two places — drawers are rarely perfectly square, and a divider cut to the front measurement can bind at the back. Note the tallest item the drawer must hold with the drawer closed: a divider taller than the drawer side, or taller than the clearance under the counter, turns a working drawer into a stuck one.
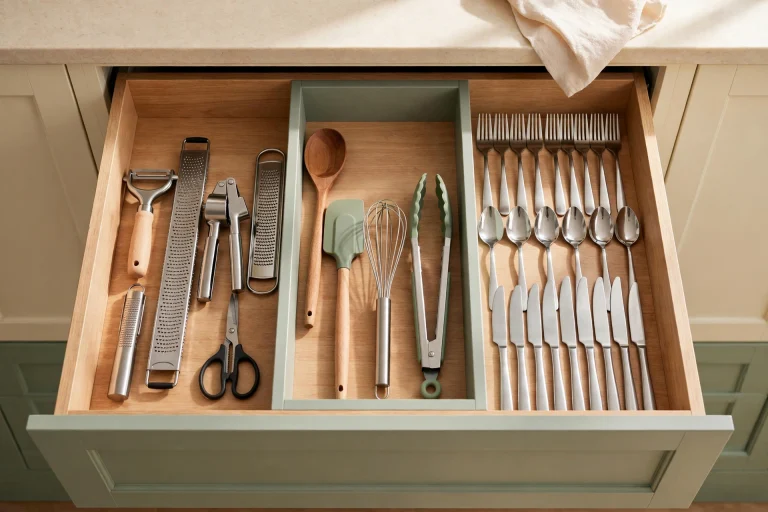
Sketch the layout on paper before cutting anything: one section per task group, sized to the group, not to equal thirds. Cutlery usually needs a long, narrow section; cooking tools need a wider one; small items — peelers, clips, thermometers — need the smallest section, or they will migrate. Leave a little breathing room in each section; a section packed edge to edge is as hard to use as a drawer with no dividers at all.
Step 3: Cut simple boards and fit them snug
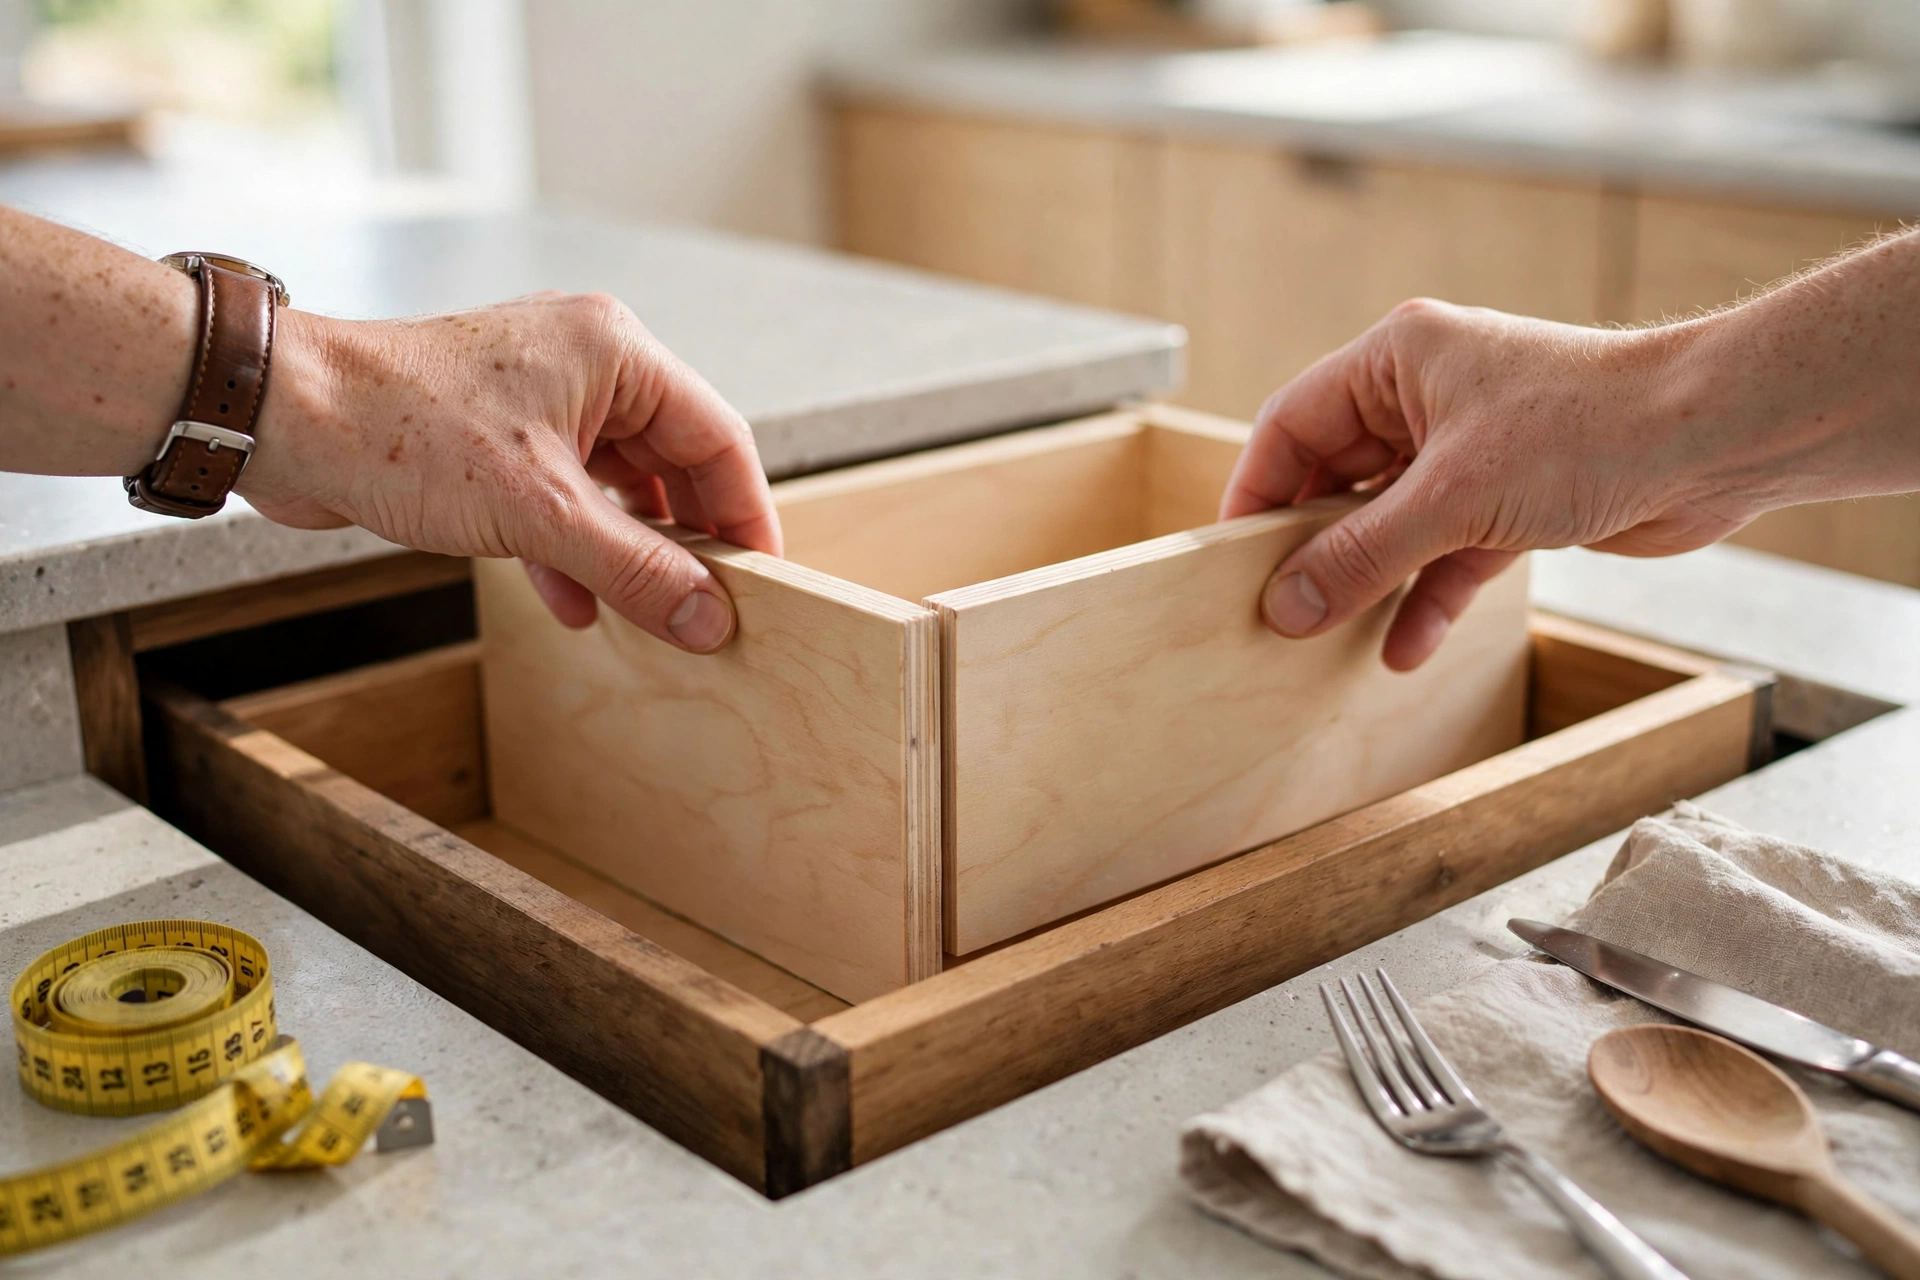
Use plain, smooth boards — plywood or a softwood board is enough; nothing fancy is needed for a drawer interior. Cut one long divider running front to back, and shorter cross dividers to make the sections. Sand every cut edge: splinters in a cutlery drawer are a daily annoyance, and sanding takes two minutes per board.
Fit each divider snugly, without forcing it. A divider that needs hammering in will warp the drawer or split at the joint; a divider that rattles will slide the first time the drawer closes hard. If a divider is a fraction too long, trim it rather than wedging it. For a no-glue first version, snug friction-fit dividers are enough to test the layout — glue or small screws can come later, once the layout has proved itself for a week.
Step 4: Test-fit with the real tools before fixing anything
Put the dividers in, then put the real tools back, in their task groups, and open and close the drawer several times. This is the step that saves a rebuild: a section that looks right on paper often turns out too narrow for the whisk, or too deep for the spatulas to lift out easily. Move a divider, resize a section, or swap two groups — that is the point of testing before fixing.
Check three things in the test: every tool lifts out without catching, the drawer closes fully without anything pressing on the divider tops, and nothing slides between sections when the drawer is shut firmly. If a small item keeps escaping its section, that section needs a cross divider, not a taller wall.
Step 5: Keep the layout to one job per section
Once the layout works, give each section one job and keep it that way. When a new tool arrives, it either fits an existing section or replaces something — it does not earn a new section by default, or the drawer creeps back to one section per item and then to no sections at all.
A short weekly habit protects the work: when a drawer starts drifting, it is usually one section that has taken in strays. Empty that section, return the strays to their real homes, and the divider layout does the rest. How to Keep a Kitchen Organized: A Weekly 15-Minute Reset Routine is the routine that keeps a divided drawer divided.
What dividers pair well with
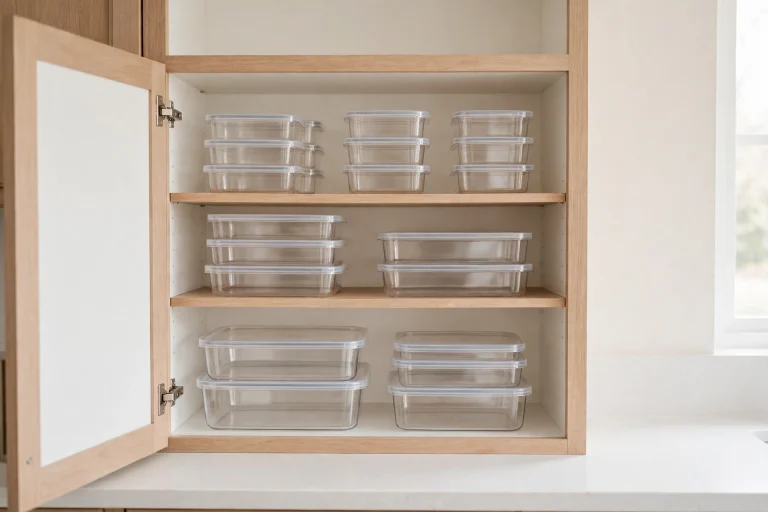
Dividers fix the inside of a drawer; the rest of the kitchen still needs its own homes. For the space above the drawer, How to Organize Kitchen Cabinets So You Can Actually Reach Things sets daily items between waist and eye level, so the drawer and the cabinet above it stop competing for the same tools. And for drawers that hold food storage rather than tools, How to Organize Food Storage Containers and Lids covers matching lids to containers before they earn a section at all.
Summary table
| DIY divider move | What it fixes |
|---|---|
| Empty and group by task | A layout built around item types that drifts |
| Measure the inside, twice | Dividers that bind, rattle, or stick |
| Cut plain boards, sand the edges | Splinters and a divider that damages the drawer |
| Snug fit, no forcing | Warped drawers and split joints |
| Test-fit with real tools | Sections too narrow or too deep to use |
| One job per section | Strays creeping back into every section |
Frequently asked questions
Q: How do you make DIY drawer dividers?
A: Empty the drawer, group its contents by task, measure the inside width, depth, and height, cut plain boards to fit snugly front to back and across, sand the edges, and test the layout with the real tools before fixing anything in place.
Q: What material is best for DIY drawer dividers?
A: Plain plywood or a softwood board is enough for a drawer interior — smooth, easy to cut, and cheap to replace if the layout changes. Sand every cut edge so nothing splinters.
Q: How do you measure a drawer for dividers?
A: Measure the inside, not the front, in at least two places, and note the tallest item that must fit with the drawer closed. Dividers taller than the drawer side or the counter clearance will jam the drawer.
Q: Should drawer dividers be glued in place?
A: Not at first. Test a snug friction-fit layout for a week, move dividers as needed, and only then glue or screw them if the layout has proved itself.
Q: How do you keep divided drawers organized?
A: Give each section one job, and when a new tool arrives, let it replace something rather than earning a new section. A short weekly pass returns strays to their real homes.
Shop this guide’s list
Everything in this guide — boards, measuring tools, cutting and finishing supplies — is gathered in one place: our Benable list, I Finally Found DIY Kitchen Drawer Dividers That Fit My Drawers Perfectly.