How to Organize a Small Pantry Step by Step
To organize a small pantry step by step, take everything out, toss what is expired, group foods into broad categories, and give each category its own zone with containers you can see into. Then arrange shelves by how often you use things: daily items at eye level, backstock up high, heavy items down low. This method works for closets, cupboards, and single shelves alike. No walk-in required.
A small pantry is not a problem to fix; it is a boundary that helps. With less space you buy less, waste less, and find everything faster. This guide walks you through the whole reset, from empty shelves to the weekly habit that keeps it tidy. If your whole kitchen needs the same treatment, start with our guide on how to organize a small kitchen without adding cabinets, and for the complete kitchen system, see how to organize a kitchen by zones.
What You Need Before You Start
You need less than you think. Gather a trash bag, a box for donations, a marker and tape for labels, and a damp cloth for wiping shelves. If you already own clear containers or small bins, have them nearby. But do not buy organizers until Step 4, when you know what actually needs containing.
- Trash bag and a donation box
- Marker and painter’s tape, or sticky labels
- Damp cloth for wiping shelves
- Containers or bins you already own. Shop your house first.
Step 1: Take Everything Out
Yes, everything. Pull every item onto the counter or table. This is the only way to see what you actually own. Small pantries are famous for hiding duplicates and expired cans in the back. While the shelves are empty, wipe them down.
As you pull items out, check every date. Toss anything expired, stale, or mysteriously sticky. Box up duplicates you will never use and food your household will not eat. If it is still good, it can go to a food bank.
Step 2: Sort Into Categories
Group everything into piles by type. Keep categories broad: six to eight is plenty for a small pantry. Fewer, bigger groups are easier to maintain than a dozen tiny ones.
| Category | Examples |
|---|---|
| Breakfast | Oats, cereal, pancake mix, peanut butter, honey |
| Grains & Pasta | Rice, pasta, quinoa, breadcrumbs |
| Canned Goods | Tomatoes, beans, tuna, soup, coconut milk |
| Baking | Flour, sugar, baking powder, chocolate chips, yeast |
| Snacks | Crackers, nuts, dried fruit, granola bars |
| Oils & Vinegars | Olive oil, cooking oil, vinegar |
| Spices & Sauces | Spices, salt, pepper, soy sauce, hot sauce |
| Backstock & Extras | Bulk buys, refills, party supplies |
Step 3: Decant Only the Messy Stuff
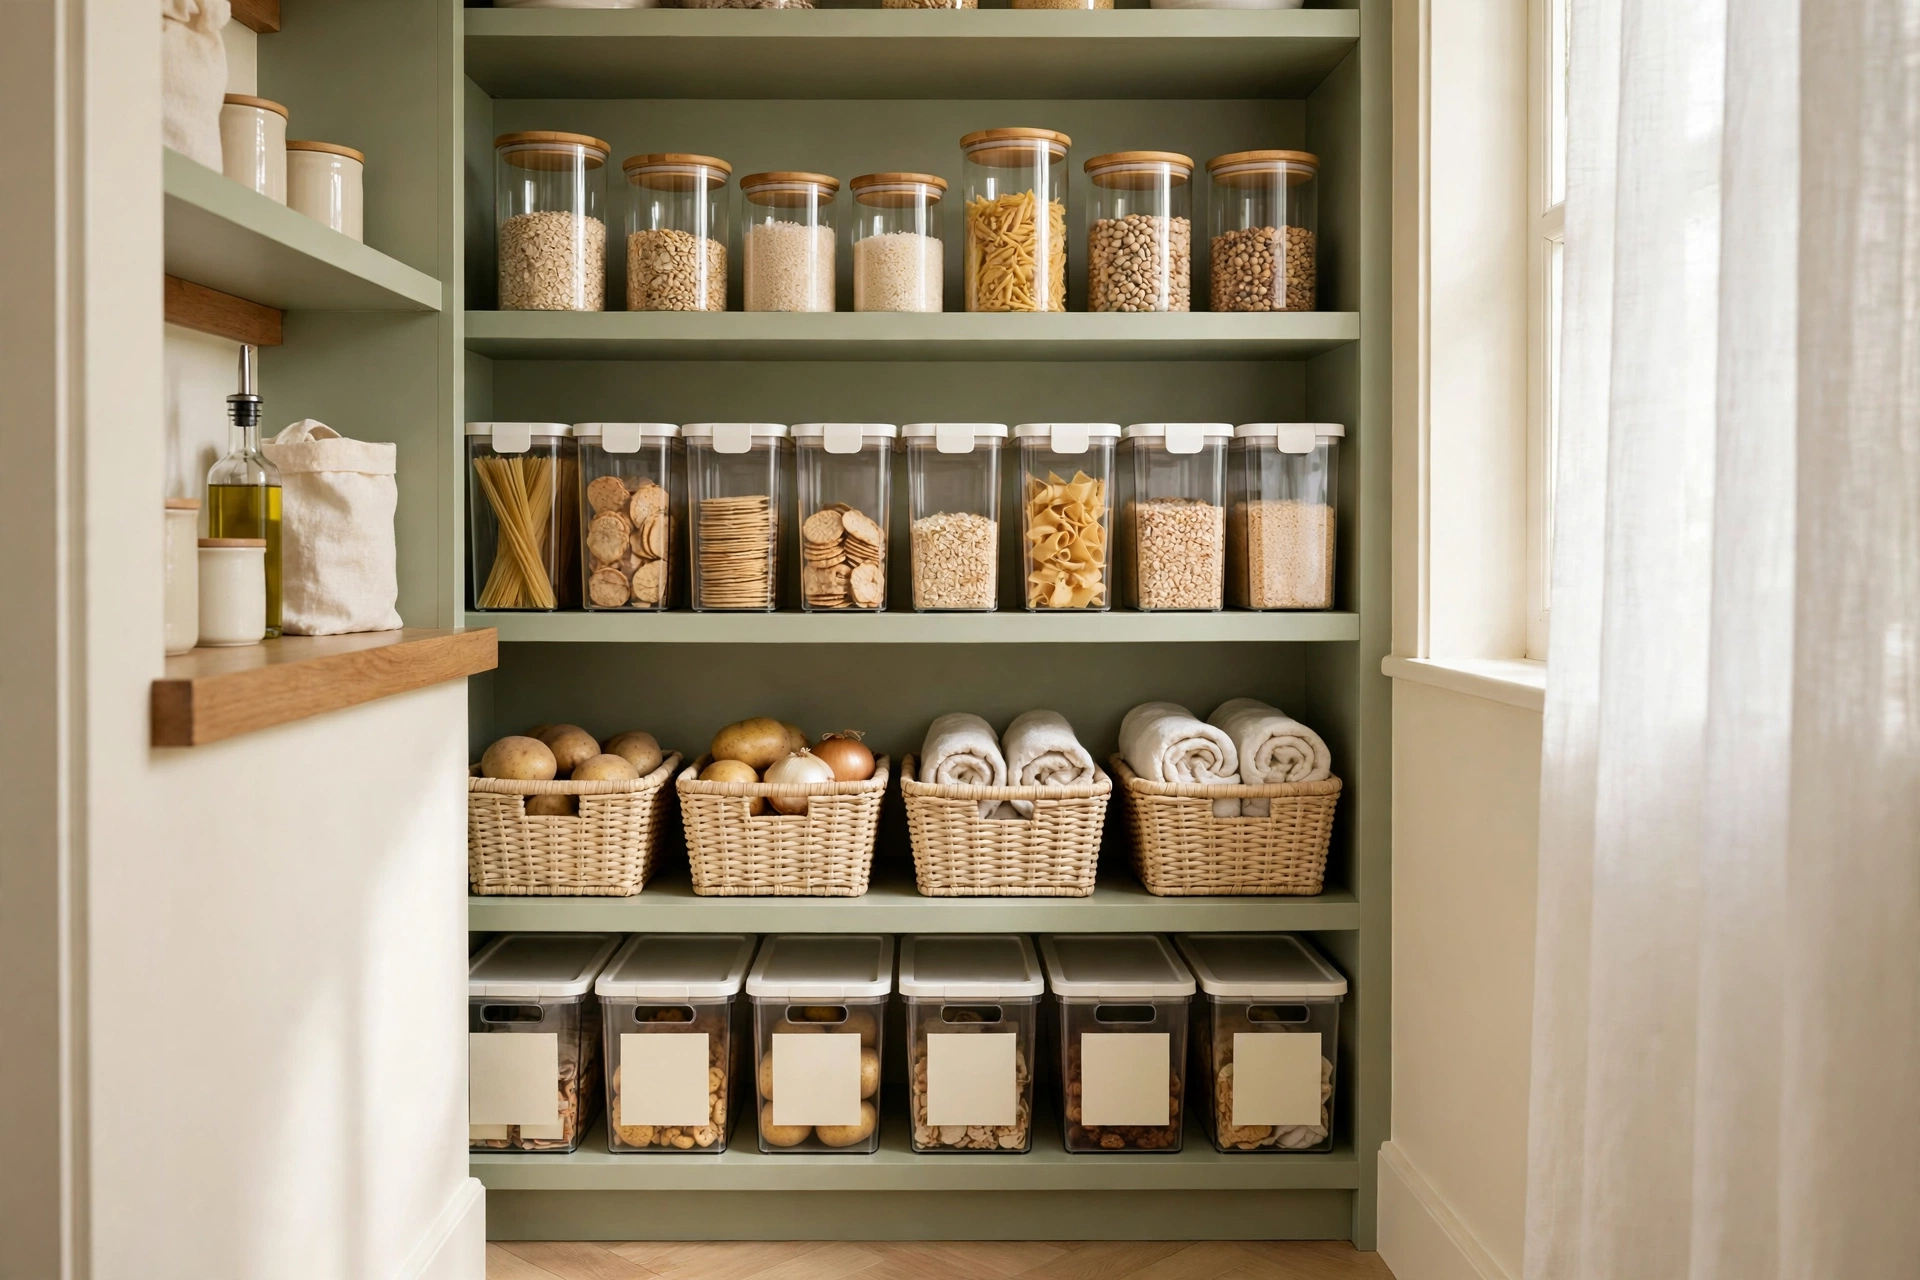
You do not need to decant everything. Transfer only dry goods that come in floppy, tear-prone packaging: flour, sugar, rice, pasta, cereal, and snacks. Clear, square, airtight containers stack neatly, waste less shelf space than round bags, and let you see when you are running low. Keep cans, jars, and sturdy boxes in their original packaging. Decanting those wastes time and money.
- Square beats round: square containers waste less shelf space.
- Clear beats opaque: you can see levels at a glance.
- Same brand or line: lids and bases actually stack.
- Label everything you decant with the contents and the date.
Step 4: Zone Your Shelves by Frequency
Give each category its own zone, then arrange zones by how often you reach for them. The golden rule: the more you use it, the closer to eye level it lives.
| Shelf | Zone | Why |
|---|---|---|
| Eye level | Breakfast and snacks | Grab-and-go, used daily |
| Middle | Cooking staples: grains, canned goods, oils | Used at most meals |
| Top | Backstock and extras | Refills and bulk buys, reached for rarely |
| Bottom | Heavy items | Bulk bags and big bottles; kid snacks at kid height |
If your pantry is a single shelf or cupboard, use small bins as zones: one bin per category, pulled out like a drawer.
Step 5: Contain, Label, and Finish
Place everything back, one category at a time. Use bins and baskets to create firm boundaries so categories do not drift into each other. Add a tiered riser for cans and a turntable for deep shelves if you have them. Both make the back of the shelf visible. Then label bins and decanted jars. Labels are what make the system survive other household members: anyone can put the crackers back if the bin says Snacks.
- Bins for each category. Boundaries stop drift.
- Tiered riser for cans. See every row.
- Turntable for deep shelves. Spin to reach the back.
- Door-mounted rack for spices. Frees a whole shelf.
Small-Pantry Summary Map (At a Glance)
Pin this map on the inside of the pantry door while you reset:
| Step | Do this | Result |
|---|---|---|
| 1. Empty | Take everything out, wipe shelves | See what you own |
| 2. Toss & donate | Check dates, remove duplicates | Less to store |
| 3. Sort | Group into 6 to 8 categories | Everything has a group |
| 4. Decant | Messy staples into clear square containers | See levels, stack neatly |
| 5. Zone | Eye level is daily, top is backstock | Grab what you use most |
| 6. Label | Tape and marker on bins and jars | Anyone can keep it tidy |
The Weekly Habit: Shop Your Pantry First
A small pantry stays organized when you shop it before the store. Once a week, glance at the shelves while you write your grocery list. This prevents duplicate buys, which are the number-one cause of pantry chaos. When you unpack groceries, slide new items behind older ones so the oldest gets used first.
One in, one out applies here too: finish the open box of pasta before opening the new one, and do not buy a backup of something you already have two of.
Frequently Asked Questions
How do you organize a deep pantry so things don’t get lost?
Treat bins like drawers: pull the whole bin out to see the back. A turntable on deep shelves brings the back row forward with a spin. Keep backstock behind daily items, never mixed in with them.
Should I decant everything into matching containers?
No. Only decant dry goods in messy packaging like flour, sugar, rice, pasta, and cereal. Cans, jars, and sturdy boxes are fine as they are. Decanting everything costs money and adds work without adding function.
How do I organize a pantry with no shelves?
Build zones with bins and baskets on whatever surface you have: a closet floor, one wide shelf, or a rolling cart. Stackable bins act as shelves. The category system matters more than the furniture.
What is the best way to store spices in a small pantry?
Together, in one spot: a small tiered riser, a door-mounted rack, or a single bin you can pull out. Do not alphabetize. Just keep them all in one place so you can scan them at a glance.
How often should I clean out my pantry?
Do a quick date check every three months and a full empty-and-wipe once a year. If you shop your pantry weekly and follow one-in-one-out, the big cleanouts stay small.
Your Next Step
Start today with a single shelf: pull everything out, toss the expired items, and put back only what belongs, grouped by category. You will feel the difference the next time you cook. For the rest of the kitchen, read our guide on how to organize a small kitchen without adding cabinets, and when you are ready for the full system, our kitchen zones guide ties it all together. And for the cabinet under the sink, see our guide on how to organize under the kitchen sink around pipes.

One Comment