How to Organize a Small Apartment Kitchen in 7 Steps (Renter-Friendly)
A small apartment kitchen is not a storage problem. It is a placement problem. You probably own less than you think, and most of what you own is simply in the wrong spot — the baking tray you use twice a year sits at hand height, while the plates you use twice a day sit behind it.
These seven steps fix that, in order, without drilling a single hole, replacing a single cabinet, or doing anything your landlord could object to. Everything here comes out cleanly when you move.
Step 1: Empty one zone, not the whole kitchen
Do not empty the whole kitchen at once. In a small apartment, that leaves you with nowhere to cook and a counter full of things you cannot put back. Pick one zone — one cabinet, one drawer, one shelf — empty it, wipe it, and sort it into three piles: keep here, move elsewhere, and let go.
The “let go” pile is where a small kitchen is won or lost. The third spatula, the chipped mug, the gadget bought for one recipe and never used again — each one costs you a hand-width of space you do not have. Be honest, because every item you keep has to earn its place in a kitchen this size.
Finish that zone completely before starting the next. A small kitchen organized zone by zone stays usable throughout; a small kitchen emptied all at once does not.
Step 2: Put the kitchen in zones, even if it is one wall
A one-wall kitchen still has zones; they are just closer together. Decide which stretch of counter is prep, which is cooking, and which is washing up, and store things where their job happens:
- Prep zone — near the chopping board. Knives, peeler, cutting boards, measuring tools.
- Cooking zone — near the stove. Spatulas, tongs, pot holders, the oil you actually cook with.
- Washing zone — near the sink. Dish soap, drying rack, tea towels, everyday plates and glasses.
When everything lives by its job, you stop crossing the kitchen ten times per meal. If you have not set up zones before, How to Organize a Kitchen by Zones explains the same idea room by room.
Step 3: Use the doors, walls, and insides — without drilling
Renters have more storage than they use, because the usable surfaces are the ones nobody screws into. All of these come off cleanly:
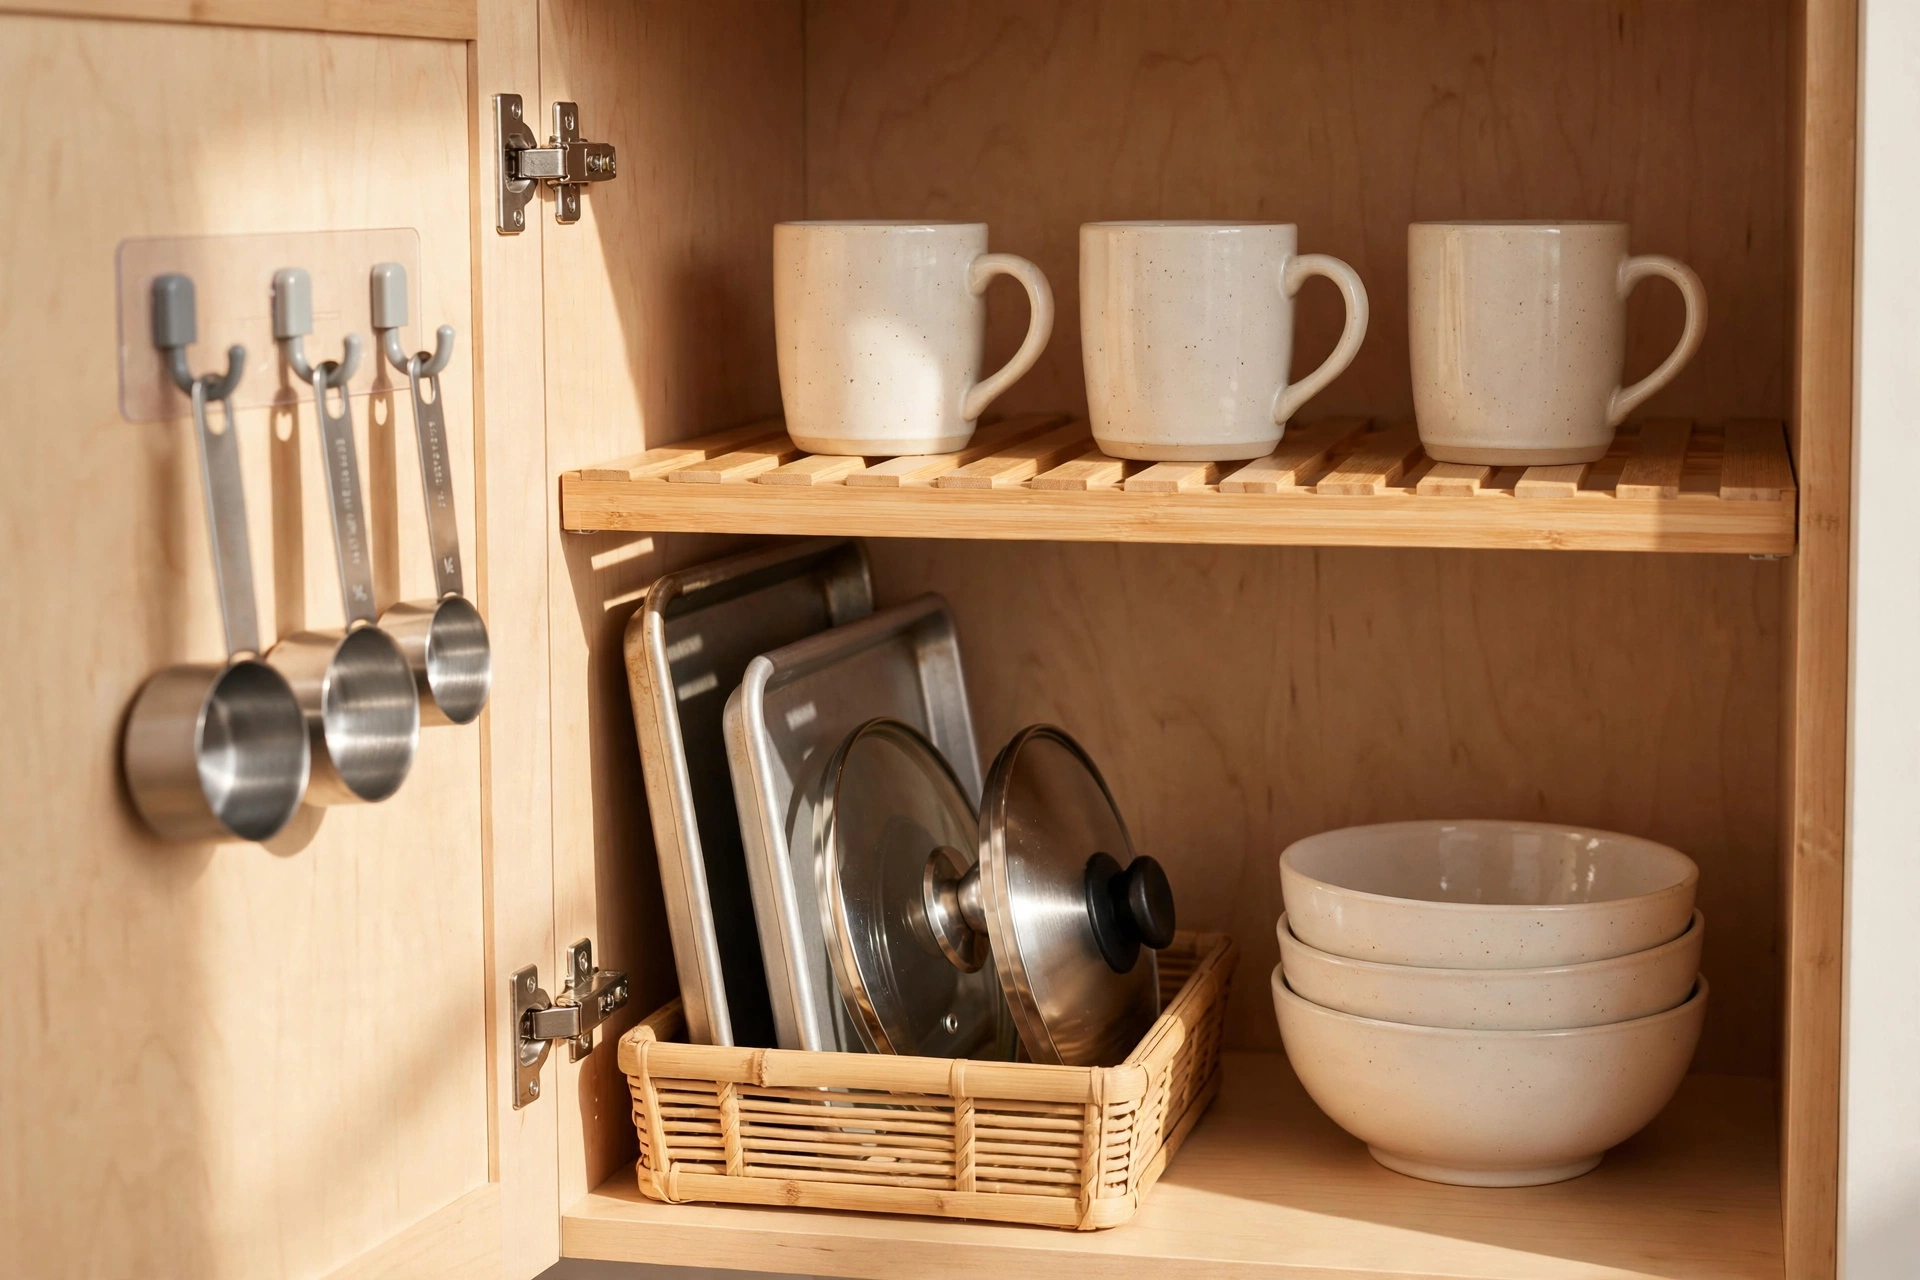
- Inside cabinet doors: adhesive hooks or a stick-on rack for measuring cups, lids, or a shopping list. Nothing here needs a screw.
- The wall beside the fridge or above the counter: a tension rod under a cabinet holds spray bottles by their triggers; adhesive hooks hold towels, scissors, and the apron.
- The side of the fridge: magnetic hooks and a magnetic strip hold towels, notes, and small metal tools, and leave no mark at all.
- Inside drawers: a cut-down box or a small tray divides a drawer without buying anything new.
The rule is simple: if it hangs, hooks, sticks, or stands on its own, it is renter-friendly. If it needs a drill, skip it — the space it saves is rarely worth the repair bill.
Step 4: Go vertical inside every cabinet
Small kitchens waste vertical space. A cabinet shelf with one row of items on it is using half its height. Stack upward, but stack smart:
- Shelf risers or an upturned sturdy container create a second level for mugs, bowls, or cans, so you can see both rows at a glance.
- Stand lids, baking sheets, and cutting boards upright like books, in a narrow bin. Flat stacks hide the bottom half of everything; upright rows show it all.
- Keep the daily row at the front and the weekly row behind it, never the other way round. If you have to move three things to reach breakfast, the rows are in the wrong order.
For the cabinet version of this in detail, How to Organize Kitchen Cabinets So You Can Actually Reach Things covers reach zones — daily items between waist and eye level, rarely used items up high.
Step 5: Give every drawer a single job
In a small apartment, one drawer doing three jobs is a drawer that fails at all three. Give each drawer one task, the way How to Organize a Small Kitchen Without Adding Cabinets suggests for tight spaces: prep tools together, cooking tools together, and one honest everyday drawer for the pens, tape, and batteries that every household accumulates.
For the drawer-by-drawer detail, see How to Organize Kitchen Drawers by Task, Not by Item.
If you have fewer drawers than jobs, combine the two closest jobs — prep and cooking — with a divider between them, rather than letting one drawer become a general dumping ground. A divider, even a cut-down box, is what keeps a combined drawer working.
Step 6: Clear the counter to three things
Counters are workspace, not storage, and in a small kitchen the counter is the scarcest surface of all. Aim for three things left out permanently: the kettle or coffee maker you use daily, the knife block or board you reach for every meal, and one container for the utensils you actually use every day. Everything else goes away after use.
This step feels harsh and pays off fastest. A clear counter makes a small kitchen look bigger, cook easier, and stay cleaner, because there is nowhere for clutter to hide and nothing in the way of wiping down.
Step 7: Set a two-minute weekly reset
Small kitchens drift faster than big ones, because one misplaced item is a larger share of the whole. Once a week, while the kettle boils, walk the zones: return anything that wandered to its zone, push bins back to the front, and pull out anything that crept onto the counter.
When a zone starts failing, do not reorganize the whole kitchen. Ask one question: is something here that belongs to another zone? Move that one item, and the zone usually fixes itself. For the routine that keeps all of this going, pair this guide with a weekly reset habit.
What not to do in a rental kitchen
- Do not buy storage before you declutter. New bins in a full kitchen just hide the overflow for a month.
- Do not drill, stick anything you cannot remove cleanly, or paint cabinet interiors. The deposit is worth more than the shelf.
- Do not keep a “just in case” box in the kitchen. If it is truly just in case, it belongs in a cupboard elsewhere, not in prime kitchen space.
- Do not organize by item — all spoons together, all gadgets together — when task grouping (prep, cooking, serving) saves you a trip across the kitchen every meal.
Summary table
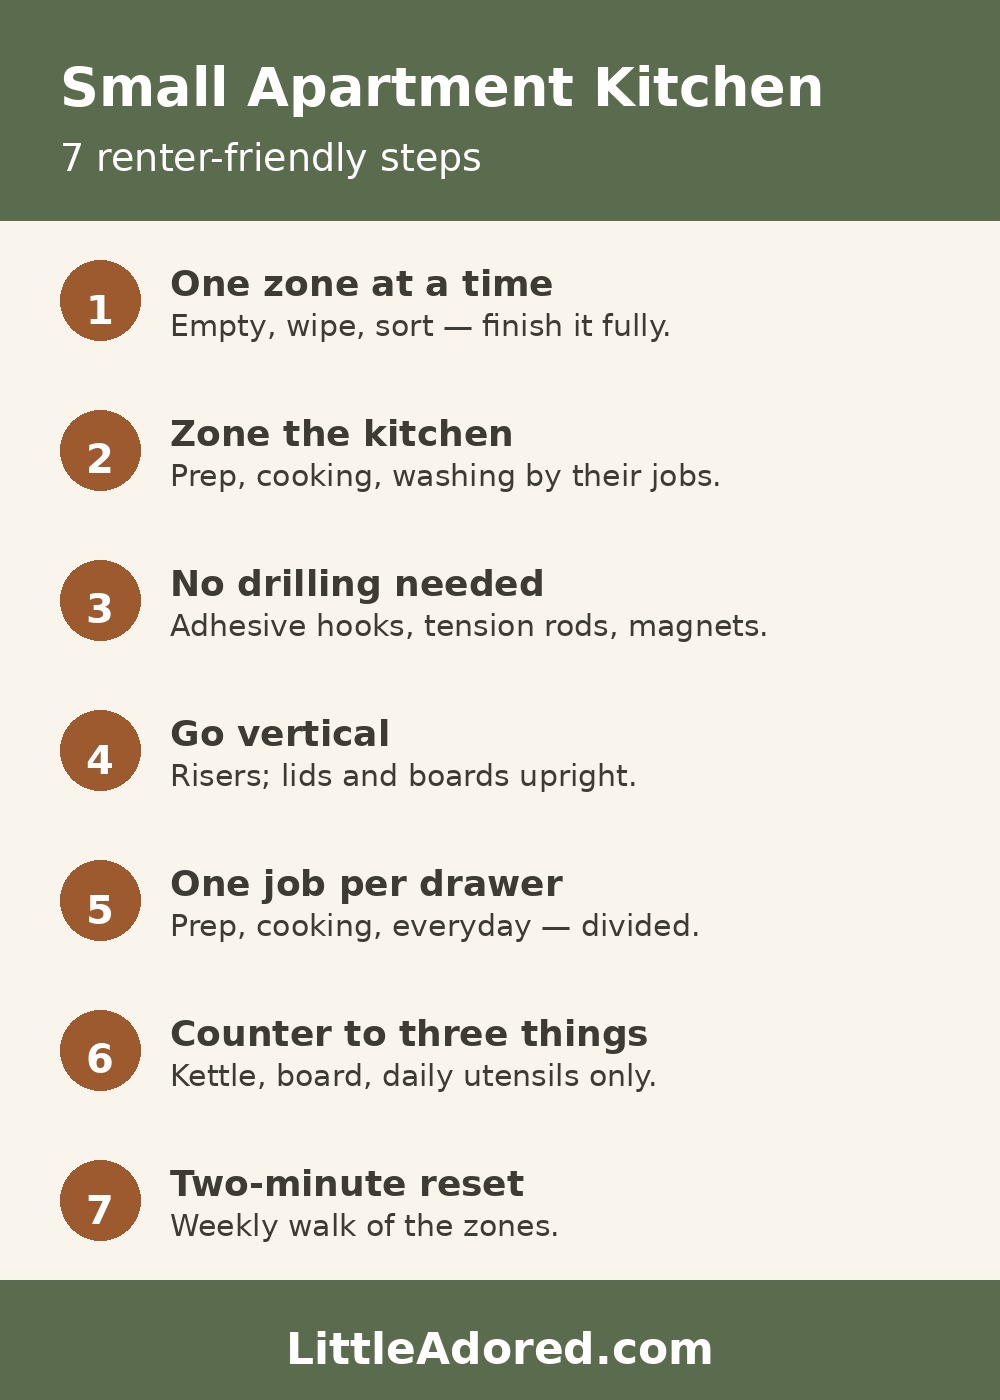
| Step | What to do | Renter-friendly check |
|---|---|---|
| 1. One zone at a time | Empty, wipe, sort keep / move / let go | No tools needed |
| 2. Zone the kitchen | Prep, cooking, washing near their jobs | Nothing fixed to walls |
| 3. Doors, walls, insides | Adhesive hooks, tension rods, magnets | Removes cleanly |
| 4. Go vertical | Risers, upright lids and boards | No drilling |
| 5. One job per drawer | Prep, cooking, everyday — divided | Boxes and trays only |
| 6. Counter to three things | Daily kettle, board, utensil container | Everything else put away |
| 7. Two-minute reset | Weekly walk of the zones, one-item fixes | Keeps it working |
Frequently asked questions
How do I organize a small apartment kitchen without drilling?
Use adhesive hooks, tension rods, magnetic hooks, and freestanding risers and bins. All of them add storage without a hole, and all of them come off cleanly when you move.
What should stay on a small kitchen counter?
Three things at most: the daily kettle or coffee maker, the board or knives you use every meal, and one container for everyday utensils. Everything else goes away after use, so the counter stays usable as workspace.
How do I make more space in a rental kitchen?
Declutter first, then go vertical inside cabinets with risers and upright storage, then use inside-door and fridge-side space. Buying storage before decluttering only hides the overflow.
Where do I start organizing a tiny kitchen?
Start with one zone — one cabinet or drawer — and finish it completely before moving on. Working zone by zone keeps a small kitchen usable while you organize it.
Can a one-wall kitchen have zones?
Yes. Zones are about placement, not walls: prep tools near the chopping board, cooking tools near the stove, washing supplies near the sink, even when all three are within a few steps of each other.