
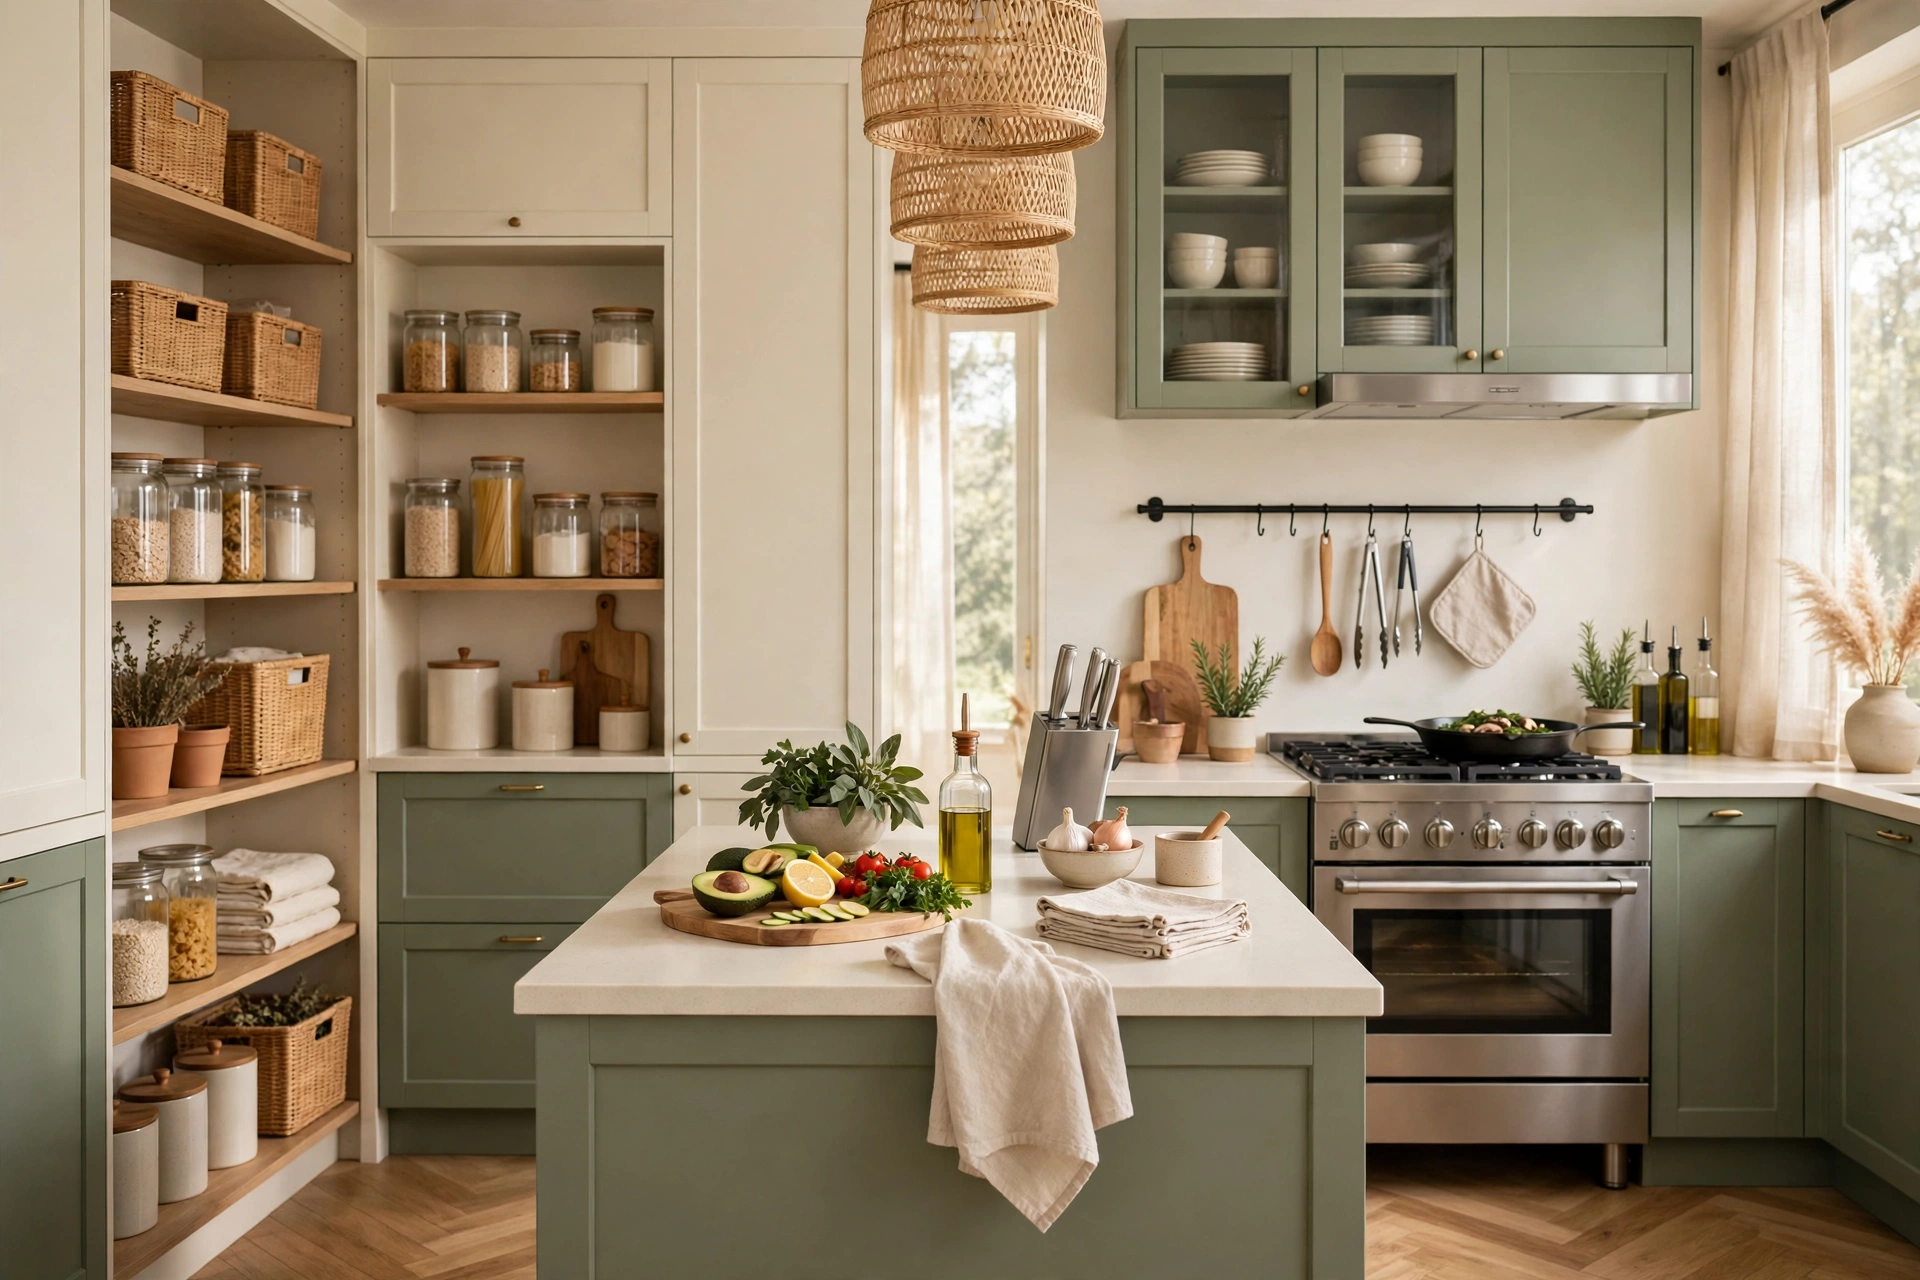
How to Organize a Kitchen by Zones (Prep, Cooking, Cleaning, Storage)
To organize a kitchen so it stays organized, divide it into zones: prep, cooking, food storage, cleaning, and serving. Keep everything you need for each task inside its zone, close to where you use it. This step-by-step guide shows you exactly how to set up kitchen zones in any size kitchen, so cooking gets faster and cleanup gets easier.
Most kitchens feel messy not because they are too small, but because items are scattered. The potato peeler lives in one drawer, the cutting board in another cabinet, and the mixing bowls somewhere else entirely. Every meal becomes a scavenger hunt. Zones fix this by grouping items by the job they do, which means fewer steps, less backtracking, and a kitchen that practically tidies itself. If you are new here, you can read more about who we are on our About page.
This guide is part of our Kitchen collection, where we share simple systems for the heart of the home.
What Is a Kitchen Zone?
A kitchen zone is a dedicated area for one type of work, stocked with everything that work requires. Professional kitchens have run on zones for decades: one station handles cold prep, another handles the stove, and another handles cleanup. You do not need a restaurant kitchen to borrow the idea. Your home version can be as simple as keeping all baking supplies in one cabinet and all coffee gear on one shelf.
The five home-kitchen zones are prep, cooking, food and container storage, cleaning, and serving. Most kitchens already hint at these zones: the stove area, the sink area, the fridge wall. But over time, items drift. This guide puts each item back where its work happens.
Before You Zone: The 30-Minute Reset
Zones only work if you are zoning the right stuff. Before moving anything, do a quick reset:
- Pull everything out of one cabinet or drawer at a time. Never empty the whole kitchen at once.
- Toss or recycle anything broken, stained, warped, or missing its partner, like lids without containers and containers without lids.
- Box up duplicates. You probably do not need four vegetable peelers or three sets of measuring cups. Keep the best one and donate the rest.
- Relocate non-kitchen items. Batteries, mail, and random tools do not belong in kitchen zones.
Work in 30-minute bursts with a timer. You will be surprised how much you can clear, and you will only move each item once: straight into its zone.
Step 1: Map Your Five Zones
Walk through your kitchen with a notepad or your phone and sketch where each zone should live. The golden rule is simple: put each zone as close as possible to where its work happens. Here is what belongs in each one.
1. The Prep Zone
This is where food gets washed, chopped, mixed, and measured: the busiest zone in most kitchens. Put it on the largest stretch of clear counter, ideally between the sink and the stove so you can rinse, chop, and cook in one smooth triangle.
Keep here: cutting boards, a chef’s knife and a paring knife, mixing bowls, measuring cups and spoons, a colander, peelers, a salad spinner, and a small bowl for scraps. If counter space is tight, a sturdy cutting board laid over the sink instantly creates a prep surface.
2. The Cooking Zone
Centered on the stove and oven, this zone holds everything that touches heat. Store pots, pans, and lids in the cabinet or drawer nearest the stove, ideally in the same cabinet, so you are not bending and reaching in two different places.
Keep here: everyday pots and pans with their lids, cooking utensils like spatulas, tongs, and wooden spoons in a crock by the stove, oven mitts, trivets, cooking oils, salt and pepper, and the spices you reach for daily. Specialty appliances you rarely use do not earn a spot here; give them a home elsewhere.
3. The Food and Container Zone (Storage)
This zone covers both food storage and the containers that hold it: pantry goods, canned items, dry goods, plus food-storage containers, wraps, and bags. Group it near the fridge so groceries flow straight from the bag to the shelf.
Keep here: pantry staples, canned goods, grains and pasta in clear containers, food-storage containers with their lids stored together (lids on, or filed vertically like records), foil, plastic wrap, and zip bags. Store containers by size, largest at the back, and keep a small basket just for lids so they stop migrating around the kitchen.
4. The Cleaning Zone
Anchored at the sink and dishwasher, this zone is all about washing up and waste. Everything for cleaning should live within arm’s reach of the sink, so you never have to hunt for dish soap again.
Keep here: dish soap, sponges and brushes, dish towels, a drying rack or mat, dishwasher pods, trash bags, and your recycling setup. Under-sink space works hard here: add a small tension rod to hang spray bottles or a pull-out caddy so nothing gets lost in the dark corners.
5. The Serving Zone
This is where meals leave the kitchen: everyday dishes, glasses, mugs, and flatware. Place it between the dishwasher and the dining area so unloading the dishwasher becomes a one-trip job.
Keep here: everyday plates, bowls, glasses, mugs, flatware, and napkins or placemats. Formal china and holiday serving pieces can live in higher or deeper storage. They do not need prime real estate.
Kitchen Zone Map (At a Glance)
Pin this map on the fridge while you set up. Each row is one zone, what lives there, and the best place to put it.
| Zone | Keep here | Best location |
|---|---|---|
| Prep | Cutting boards, knives, mixing bowls, measuring tools | Largest counter, between sink and stove |
| Cooking | Pots, pans, utensils, oils, daily spices | Cabinets and drawers nearest the stove |
| Food & Containers | Pantry staples, canned goods, containers, wraps | Near the fridge and pantry |
| Cleaning | Dish soap, sponges, towels, trash bags | Under and around the sink |
| Serving | Dishes, glasses, mugs, flatware | Between dishwasher and dining area |
Step 2: Put Everything in Its Zone
Now move items into their zones, one zone at a time. Start with the zone that bothers you most, which is usually prep or cooking. As you place each item, ask: is this where I use it? If the answer is no, move it.
Resist the urge to buy organizers first. Live with the zones for a week, notice what annoys you, and then buy only what solves a real problem: a drawer divider for the utensil drawer, a riser for the spice cabinet, or hooks for the mugs you grab every morning.
Step 3: Contain, Label, and Maintain
Zones stay organized when their boundaries are visible. Use bins, baskets, and drawer dividers to give every group of items a container, and label the containers that hold backstock or shared supplies.
Build a five-minute nightly reset into your routine: dishes into the cleaning zone, counters cleared back to the prep zone, and anything that wandered returned to its home. A zoned kitchen resets fast because every item’s home is obvious, even to other people in your household.
Frequently Asked Questions
What are the 5 zones of a kitchen?
The five home-kitchen zones are prep, cooking, food and container storage, cleaning, and serving. Together they cover every task from unpacking groceries to setting the table.
How do I organize my kitchen if it is very small?
Zones work even better in small kitchens because every inch has a job. Shrink each zone instead of skipping it: a single shelf can be a prep zone, and the cabinet beside the stove can hold the entire cooking zone. Our guide to organizing a small kitchen without adding cabinets walks through space-saving tricks in detail.
Should I organize my kitchen by zone or by item type?
By zone, with item types grouped inside each zone. All baking supplies together in the prep zone beats storing flour with the grains and baking pans with the pots. Zones match how you actually cook.
How long does it take to organize a kitchen by zones?
Most home kitchens take one weekend: a few hours to declutter, a few hours to move items into zones, and a week of small tweaks afterward. Do not aim for perfect on day one. Zones get better as you cook in them.
What is the first step to organizing a kitchen?
Declutter before you organize. Pull items out one cabinet at a time, remove what is broken or duplicated, and then assign what remains to a zone. Organizing clutter just gives clutter a nicer shelf.
Your Next Step
Start with one zone today, the one that slows you down most, and feel the difference at dinner tonight. Then browse the Kitchen category for more simple systems. And if your kitchen is on the cozy side, our small-kitchen guide shows how to make zones work without adding a single cabinet.

3 Comments