How to Organize Deep Pantry Shelves (Bins, Risers, Turntables)
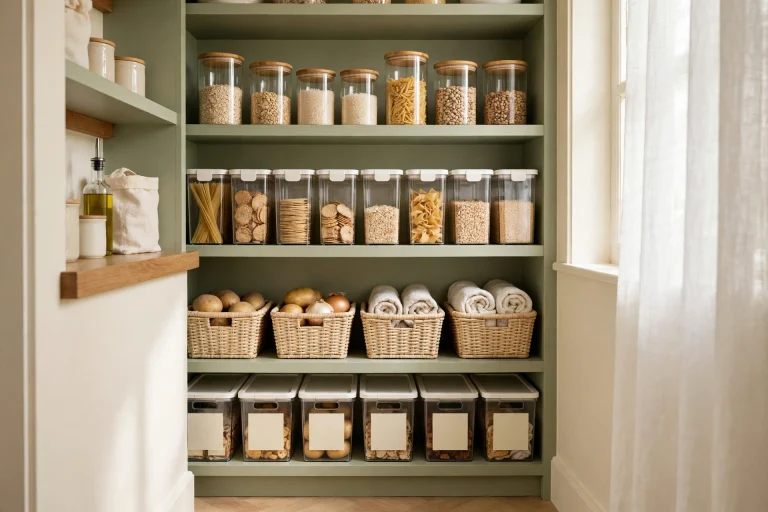
Deep pantry shelves fail in one predictable way: the front looks tidy, the back becomes a graveyard. You buy a second jar because you cannot see the first one, food expires behind the cereal boxes, and reaching for anything means moving five things first. The fix is not a smaller pantry. It is making the back of the shelf come to you — with bins you can pull out, risers that lift the back row into view, and turntables for the things you spin to, not reach for.
Measure first, buy nothing until you know the depth, and sort by how fast food gets used, not by how pretty the jars look. That one order — measure, zone, then choose the tool — is the whole method.
Step 1: Measure the depth before you organize anything
Empty one shelf at a time, and before anything goes back, measure three things: the depth from front to back, the height between shelves, and the width. Write them down. A bin that is two centimetres too deep will not slide out; a riser that is too tall will stop the shelf above from closing properly; a turntable that is too wide will jam against the shelf sides.
Depth decides the tool. A shelf up to about 35 centimetres deep can usually work with risers and careful grouping alone. A shelf deeper than that — the classic pantry problem, where your arm disappears to the elbow — needs pull-out bins, because no amount of neat stacking makes the back row reachable. Height decides what can sit on a riser: tall bottles need a low riser or none at all, while short jars and tins gain the most from being lifted.
While the shelf is empty, check expiry dates and throw out anything already past its best. A deep shelf organized around expired food is still a wasted shelf. Sort what remains into three piles: keep here, move to another shelf, and let go — the duplicate sauces, the ingredient for a recipe you tried once, the snack nobody in the house actually eats.
Step 2: Set use-first zones, front to back
Think of each deep shelf in three bands, from front to back, not top to bottom:
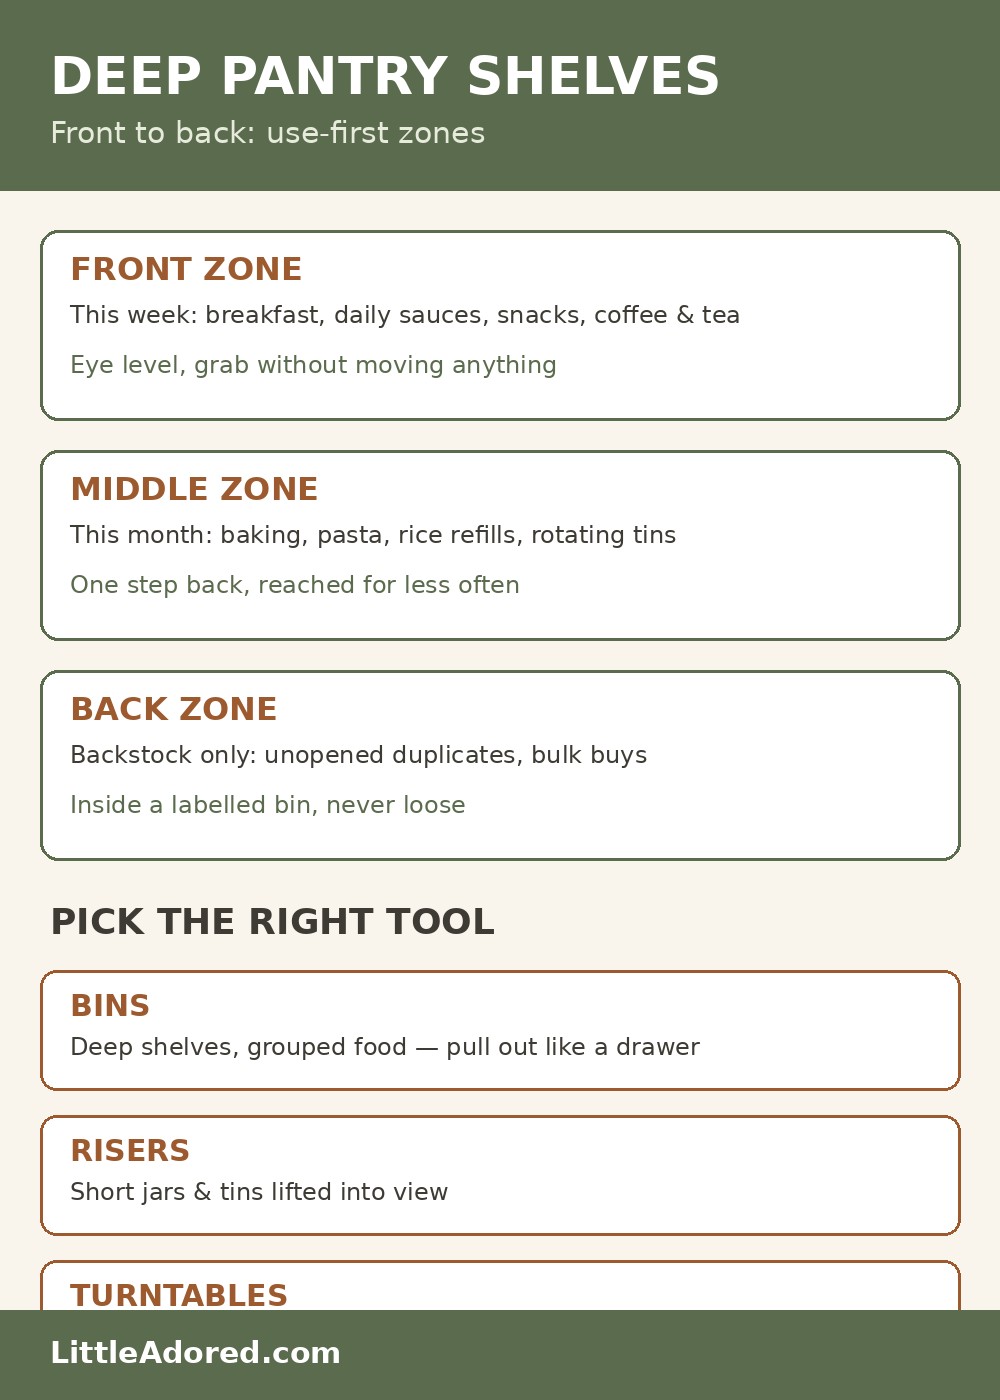
- Front zone — what you use this week. Breakfast items, the oil and sauces in daily use, snacks, the coffee and tea. These are the things your hand should find without moving anything else.
- Middle zone — what you use this month. Baking supplies, pasta and rice refills, tinned goods you rotate through, the second bottle of something already open at the front. These can sit one step back, because you reach for them less often.
- Back zone — backstock only. Unopened duplicates, bulk buys, seasonal items, the extra stock you bought on offer. Nothing in the back zone should be something you need in a hurry. If it is, it belongs at the front, and something from the front moves back.
When a new item comes home, it goes to the back of its zone, not the front. That single habit — new behind old — is what stops the front from filling with duplicates while the old jar hides behind it. And when you finish something, the item behind it slides forward into its place, so the front zone always holds what is actually in use.
Step 3: Bins vs risers vs turntables — pick by what is on the shelf
These three tools solve three different problems. Using the wrong one is why so many pantries look organized for a week and then collapse.
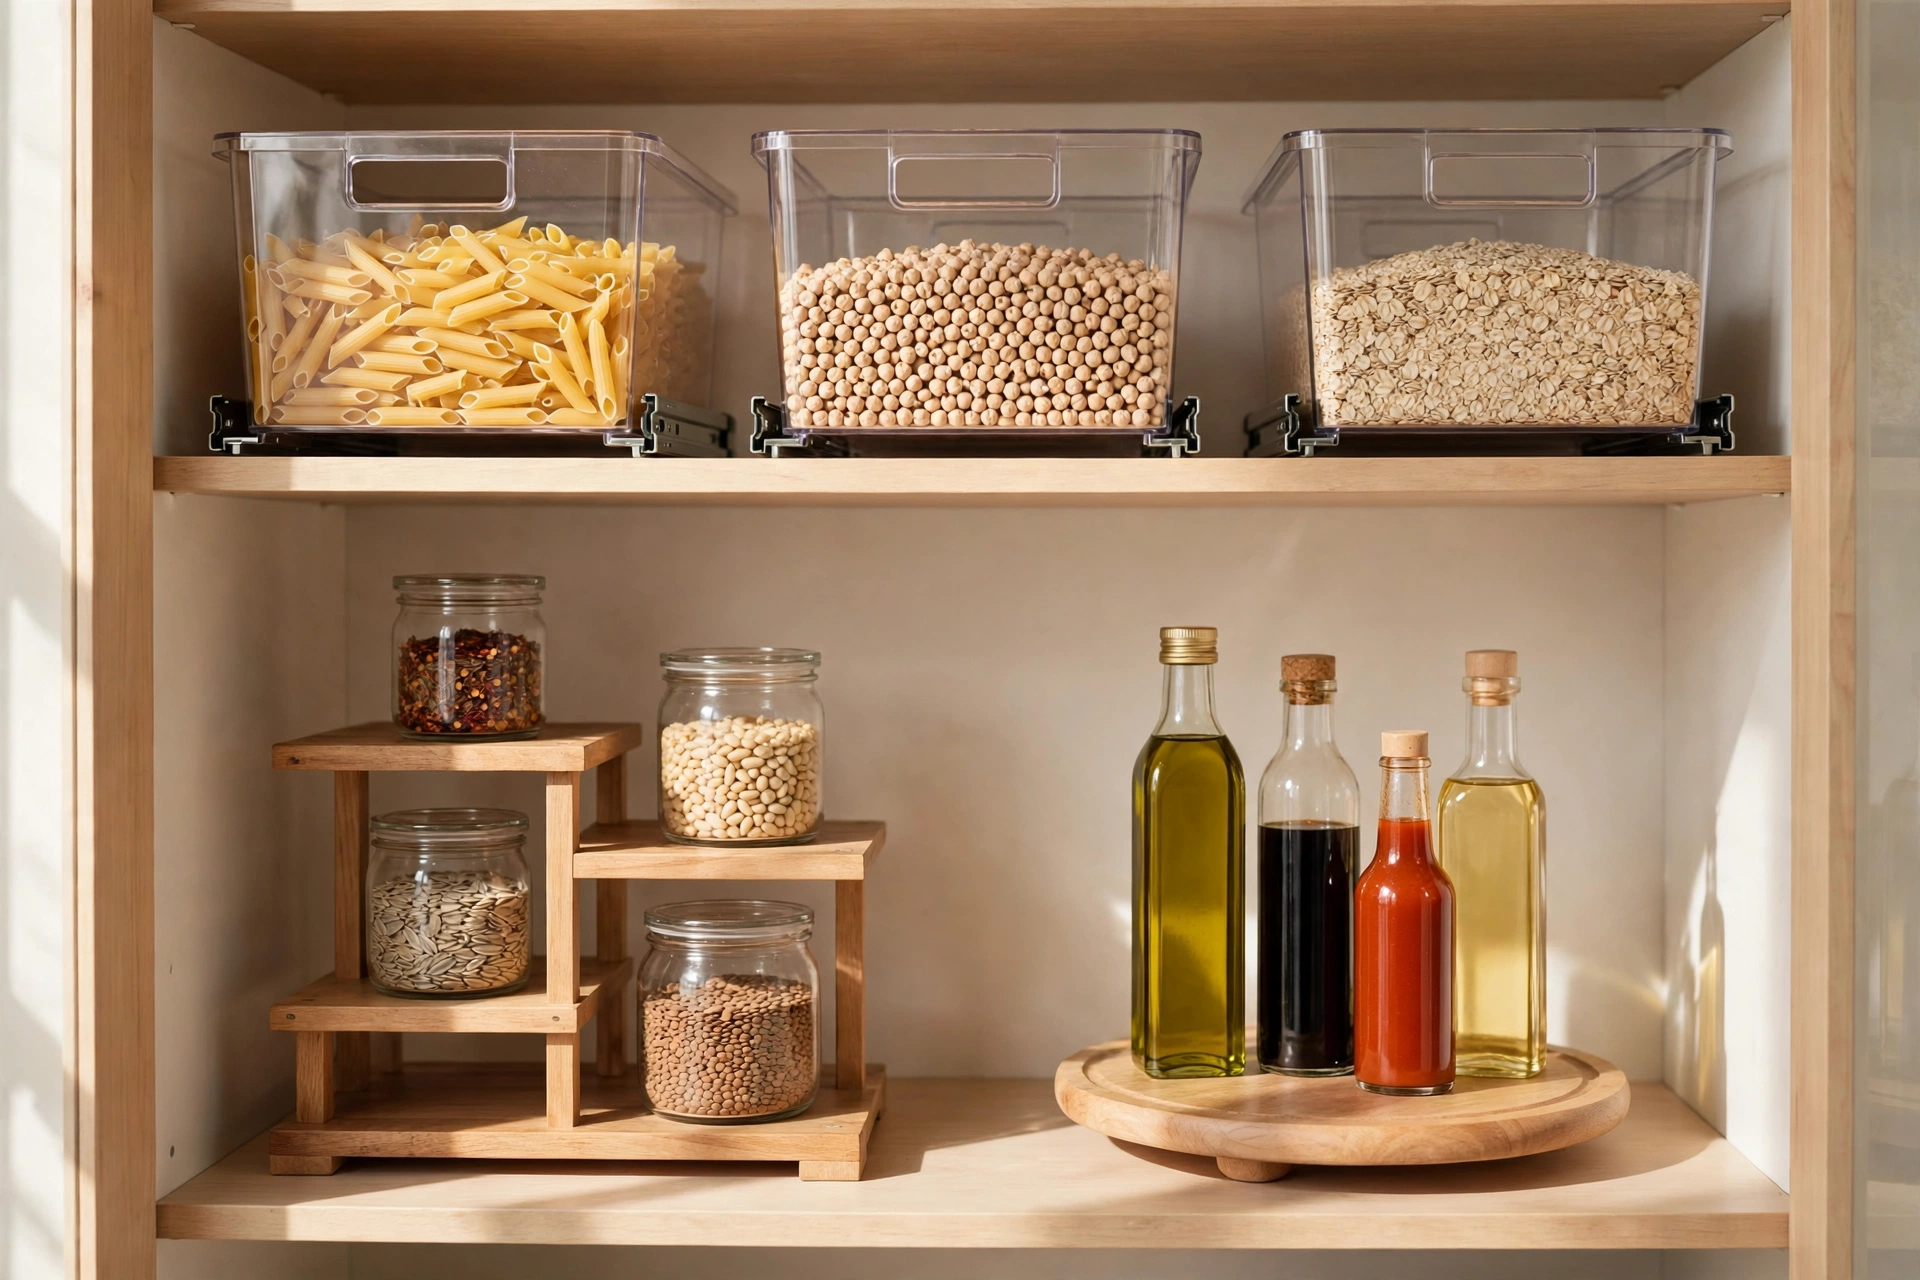
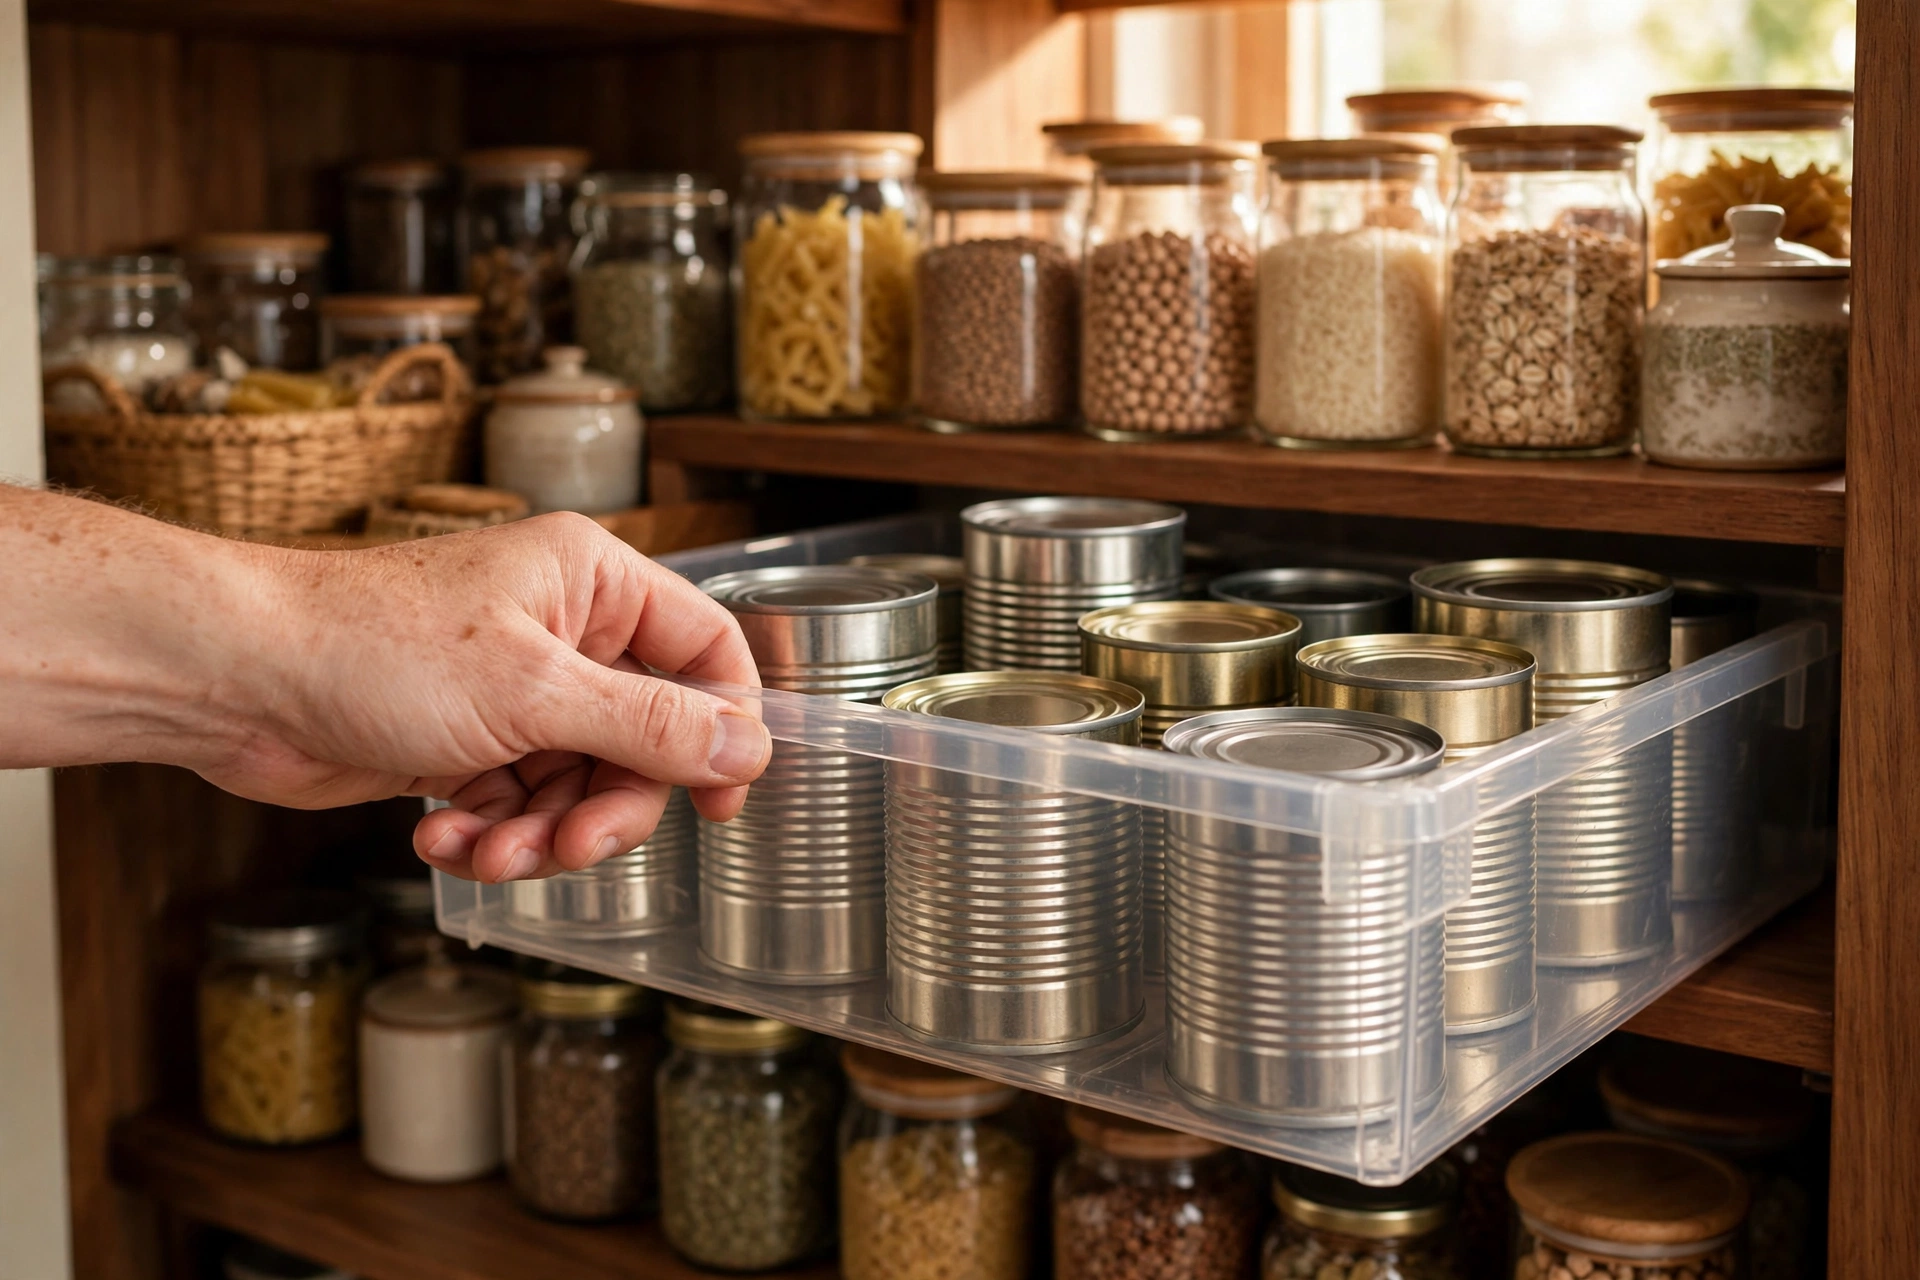
- Bins — best for deep shelves and grouped food. A bin turns a deep shelf into a drawer you can pull out. One bin per group: one for breakfast, one for baking, one for snacks, one for tins. Pull the bin out, take what you need, slide it back. Bins work best when they are open at the front or low enough to see into, and when they leave a finger-width of space on each side so they slide freely. Do not fill a bin with unrelated items — a mixed bin is just a deep shelf in a smaller box.
- Risers — best for short items you need to see. A riser lifts the back row above the front row, like steps in a theatre, so every jar and tin is visible at a glance. Risers suit spices, small tins, jars and sauces — anything short enough that lifting it still leaves headroom. They suit shallow and medium shelves better than very deep ones, because a riser does not bring the back row closer; it only makes it visible. If you still cannot reach the back row comfortably, pair the riser with a bin in front of it, not instead of one.
- Turntables — best for round shelves and corner spaces, and for bottles. A turntable lets you spin to the item instead of reaching past five others. It works well for oils, vinegars, sauces and condiments — things you grab, use, and put back often. It works poorly for tall, top-heavy bottles that fall over when spun, for very heavy items, and for rectangular shelves where a round turntable wastes the corners. Spin it slowly when you test it: if anything wobbles, that item belongs in a bin instead.
A practical combination for one deep shelf is often: a bin at the front for the daily group, a riser behind it for the short jars, and a turntable only in the corner or for the bottle group. You do not need all three on every shelf. You need the right one for what actually sits there.
Step 4: Label what you will forget
Label the bins, not every jar. A label on a bin — Breakfast, Baking, Snacks, Tins — tells everyone in the house where things belong, and it stops the slow drift where items migrate to wherever they fit in the moment. Labels matter most for the back zone: if the backstock bin is not labelled, nobody will remember what is in it, and it will be opened only when something runs out at the front.
Keep labels short and honest. Baking is useful; Flour, sugar, cocoa, baking powder, chocolate chips, vanilla is a list that will be wrong within a week. When the contents of a bin change, change the label with them, or the label becomes decoration that everyone ignores.
Step 5: What not to put at the back
Some things should never live at the back of a deep shelf, however tidy the system looks:
- Anything with a short shelf life once opened. Opened sauces, oils you use daily, anything you will need to check and use within days. These belong at the front, where you see them every time you open the pantry.
- Anything heavy on a high shelf. Heavy tins and bulk bags at the back of a high shelf are hard to lift out safely and easy to drop. Keep heavy items low, and at the front of their zone where you can lift them straight out.
- Anything you reach for with wet or busy hands. The oil you grab mid-cooking, the snack you reach for while unpacking shopping. If reaching it means moving three other things, it will end up left out on the counter instead.
- Small, loose packets. Single sachets, spice packets and small snack bars disappear in a deep shelf unless they are corralled in a small bin or a labelled container. Loose at the back, they are the first things to expire unnoticed.
If you are unsure where something belongs, ask one question: will I need this in the next seven days? If yes, it goes at the front. If no, it can go further back — but still inside a labelled bin, never loose.
Keep it working with a five-minute monthly check
Deep shelves do not stay organized by themselves, but they do not need a full reorganization either. Once a month, pull out one bin at a time, check the dates at the back, slide older items forward, and return anything that wandered to its own bin. Five minutes, shelf by shelf, is enough — and it is the check that catches the duplicate jar before you buy a third one.
And when a shelf starts failing again, do not reorganize the whole pantry. Ask one question: is something at the back that belongs at the front, or is a bin holding things from two different groups? Move that one item or split that one bin, and the shelf usually fixes itself.
How deep shelves fit the rest of the kitchen
Deep pantry shelves are the food-storage half of the kitchen system. If you have not set up your kitchen by zones yet, start with How to Organize a Kitchen by Zones — it decides what belongs in the pantry zone at all, before you organize inside any single shelf. For a small pantry where every centimetre counts, How to Organize a Small Pantry Step by Step covers the space-saving side of the same problem. And for the cleaning zone that runs parallel to food storage, How to Organize Under the Kitchen Sink Around Pipes applies the same pull-out-bin idea around an awkward shape.
Summary table
| Tool or zone | Best for | Watch out for |
|---|---|---|
| Front zone | This week’s food: breakfast, daily sauces, snacks, coffee and tea | New items must go behind old ones, not in front |
| Middle zone | This month’s food: baking, pasta, rice refills, rotating tins | Do not let backstock creep forward into it |
| Back zone | Backstock only: unopened duplicates, bulk buys, seasonal items | Nothing urgent or short-life lives here |
| Bins | Deep shelves, grouped food pulled out like a drawer | One group per bin; mixed bins fail |
| Risers | Short jars, tins and spices lifted into view | Only makes the back visible, does not bring it closer |
| Turntables | Oils, vinegars and sauces you spin to | Tall, top-heavy or very heavy items fall over |
| Labels | Bins and backstock, so the household puts things back right | Keep them short; update them when contents change |
Frequently asked questions
How do I organize deep pantry shelves without buying anything?
Start with the front-to-back zones alone: move this week’s food to the front, this month’s food to the middle, and backstock only to the back, with new items always going behind old ones. That costs nothing and stops most duplicate buying. Bins, risers and turntables help later, but the zone change is the real fix.
Are bins or turntables better for deep pantry shelves?
Bins, for truly deep shelves — a bin pulls the whole back row out to you, while a turntable only spins what is already within reach. Use turntables for bottles and corner spaces, and bins for grouped food on a deep, straight shelf.
What should I put at the back of a deep pantry shelf?
Backstock only: unopened duplicates, bulk buys and seasonal items, inside a labelled bin. Never put opened sauces, daily-use items, heavy items on a high shelf, or loose small packets at the back.
How do I stop food expiring at the back of the pantry?
Put new items behind old ones, do a five-minute monthly check pulling one bin out at a time, and keep backstock in a labelled bin you actually open. The check catches the duplicate before you buy a third jar.
Do risers work on deep pantry shelves?
They help you see the back row, but they do not bring it closer, so on a very deep shelf pair a riser with a pull-out bin in front of it. On shallow and medium shelves, a riser alone is often enough for short jars and tins.